


With this blog entry we show you how we work with our Synology Drive.
The NAS offers many ways to simplify your daily professional and personal life in terms of the way you work.
We have been using the Synology Drive tool for years.
It works like a dropbox etc., but your data is in your own cloud.
Synology Drive unites different file portals on Synology NAS and allows a much simplified file management through the cross-platform synchronization of files. Drive also provides seamless sharing capabilities for optimal office collaboration.
In addition, it is very easy and quick to install.
First we start with the Synology Drive installation on the NAS.

1. Click on the “Package Center” (Paketzentrum) button

2. click on “all packages” (Alle Pakete). You will get a list of available software.

3. The “Package Center” (Paketzentum) window opens. Enter "drive" in the search bar. The package "drive" is displayed immediately.
Click on install in the "drive" tile. Please follow the steps during the installation.
Synology Drive is now installed on your NAS.
Please note: On our NAS, this application is already installed, so you will see "open" instead of "install" on the application button.
Now the single devices, like Smartphones, MAC's, PC's etc. you want to work with have to be provided with a client. You can find this client in the App Stores of Android and Apple. The PC software is available on the Synology download page at the following link
https://www.synology.com/de-de/support/download

4. Please select your Synology NAS

5. In our case the Synology DS 1618+ and choose the right client for your device.
In this case we show you how to install Synology Drive on an Apple iPad. The PC or MAC installation is just as easy. For Android users, the Synology Drive is available from the Play Store.
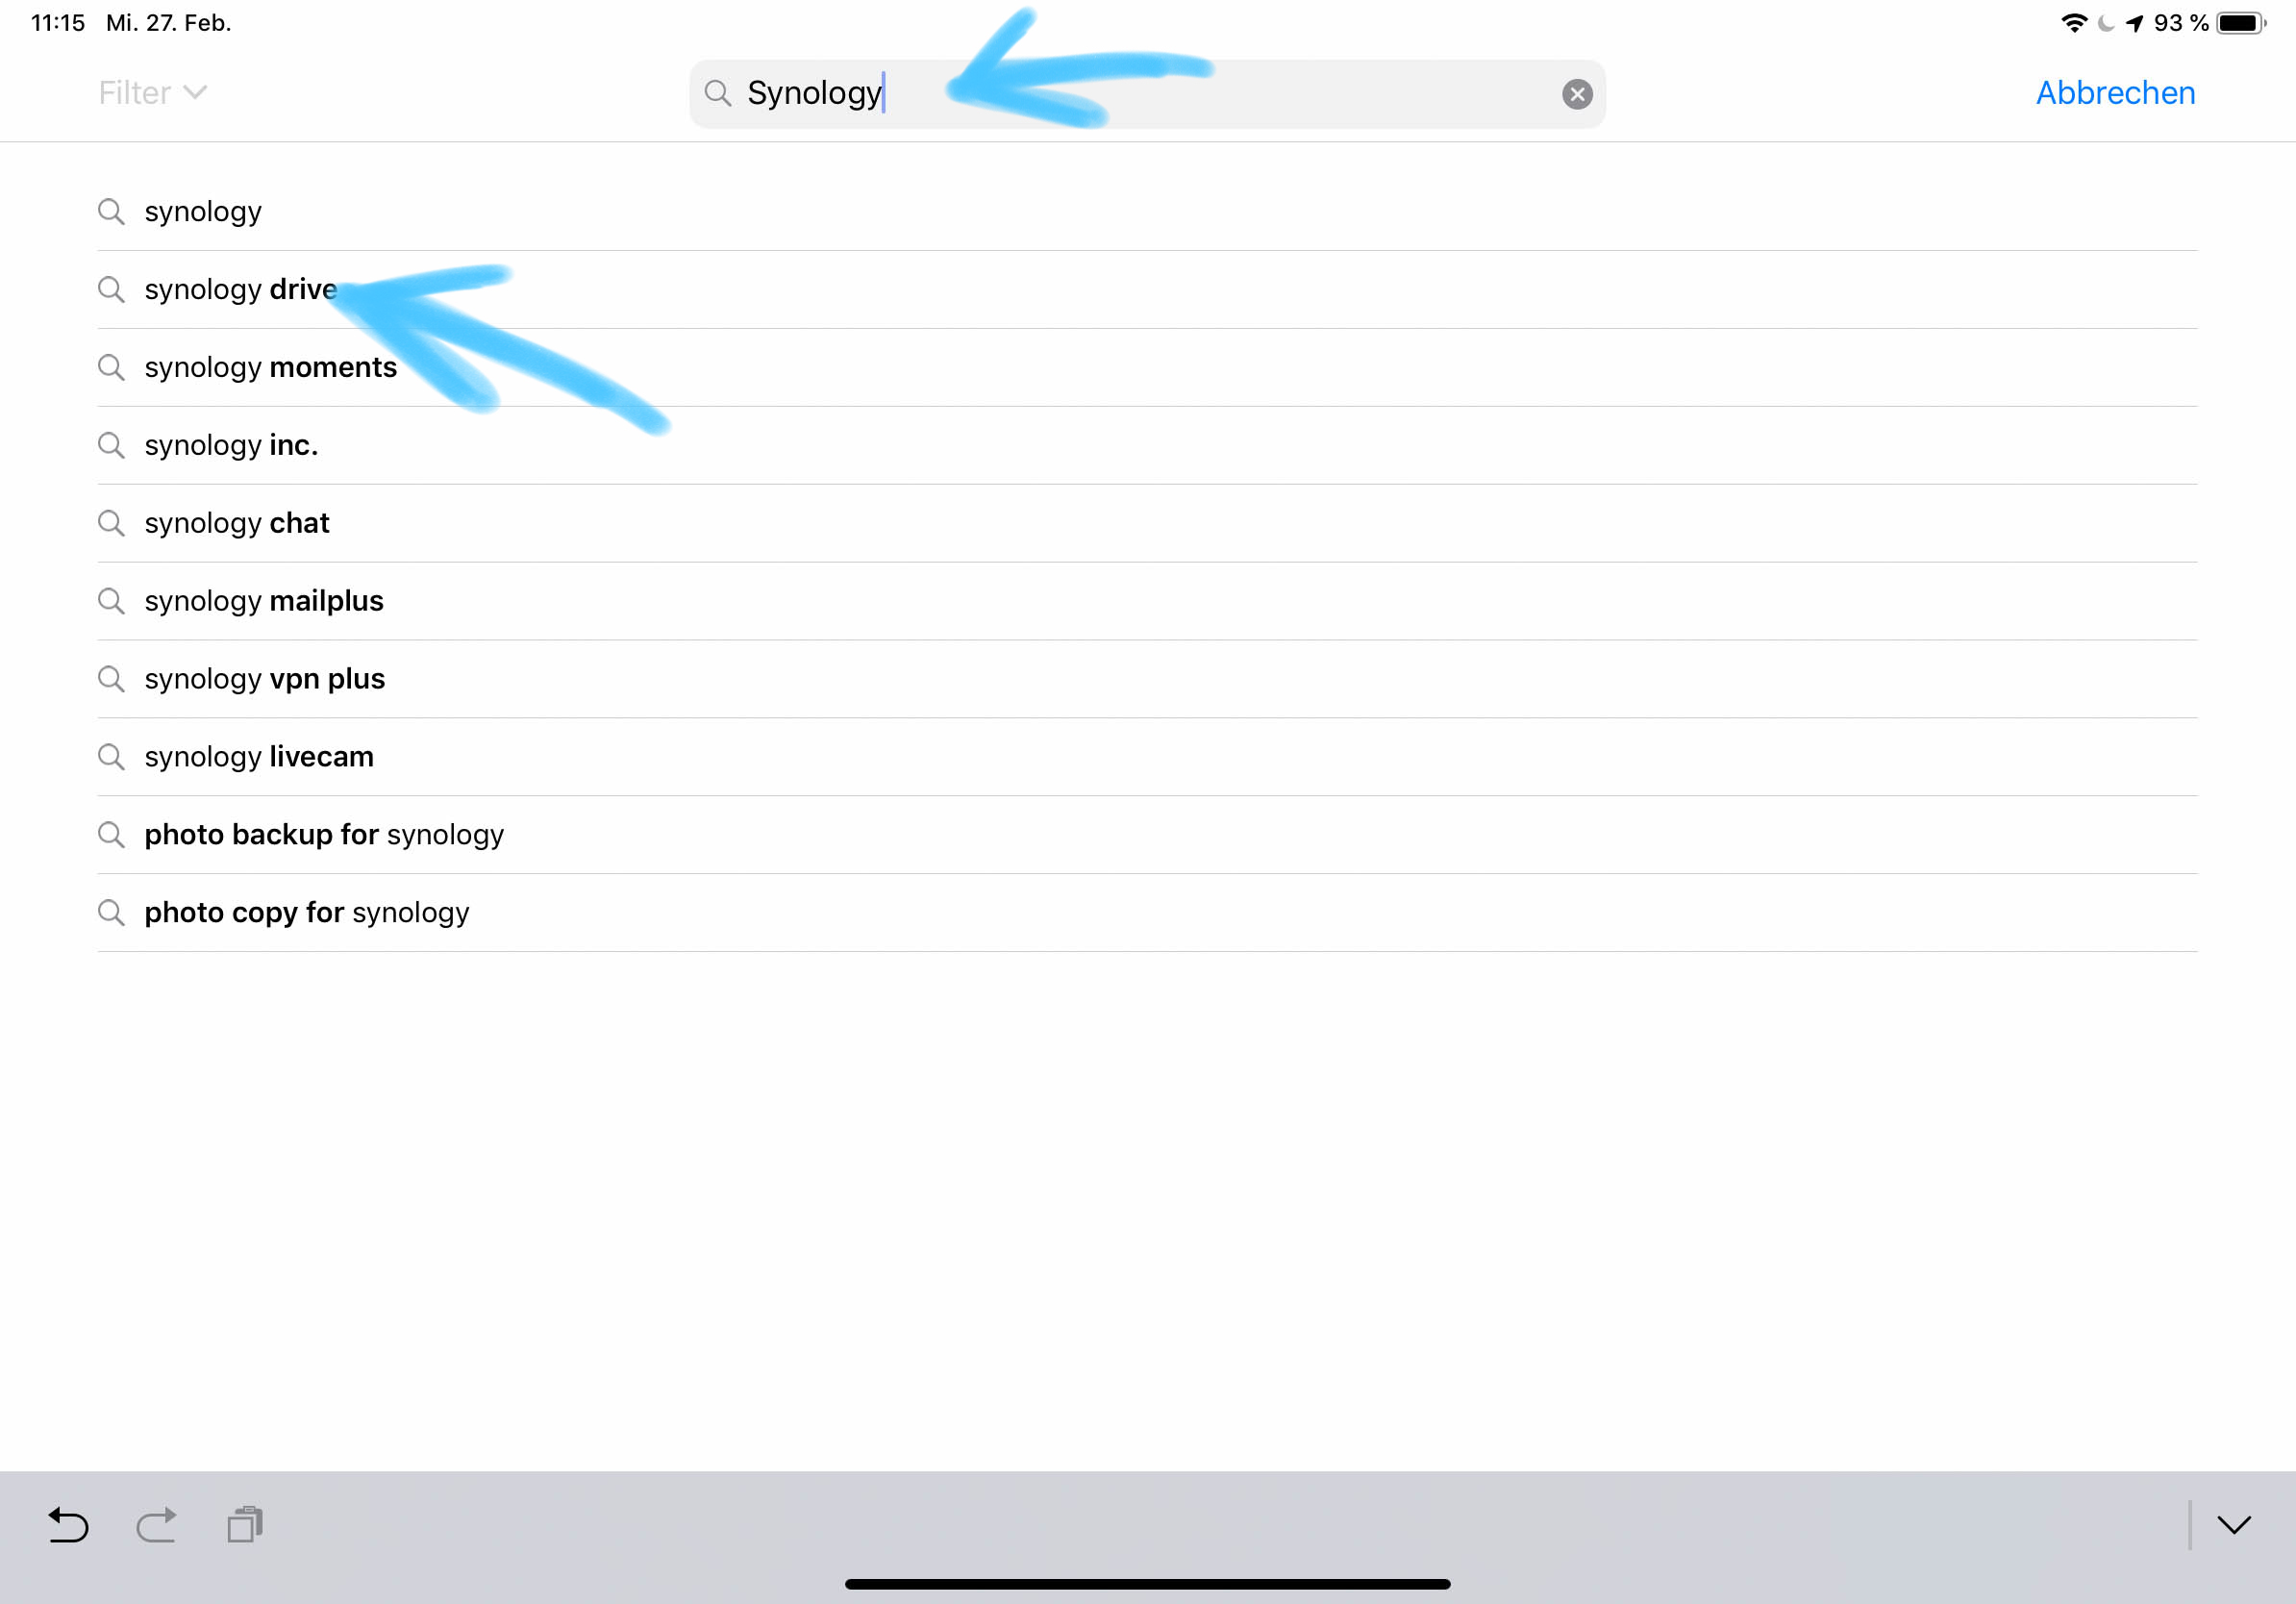
6. Go to the Apple App Store and enter "synology" in the search field. All available Synology products for the iPad will appear immediately. Click on”Synology Drive”.

8. Install the Synology Drive application.

9. The Synology Drive App is installed and click “Open” (Öffnen)

10. The Synology Drive App home screen opens. Please click on continue

11. Now you have to enter the IP address of Synology or your Quick ID. Enter the username and password.
Click on the next Button

12. Synology Drive is set up and you can work with your Synology Drive folder.
We’ve created a series of blog posts for Synology.
Click through them if you are interested:
The Synology Knowledge Base is always a great help. You can directly access the Synology support page via the following link
https://www.synology.com/de-de/support
In the next blog entry we will show you another applications we work with on Synology.
In collaboration with Synology Deutschland and Honds IT GmbH.