Since we’re currently on a roadtrip through Morocco we think we won’t be able to take lots of winter shots this year. So here are our favorites from the last season.
Photographs taken in Austria, Germany and Switzerland.

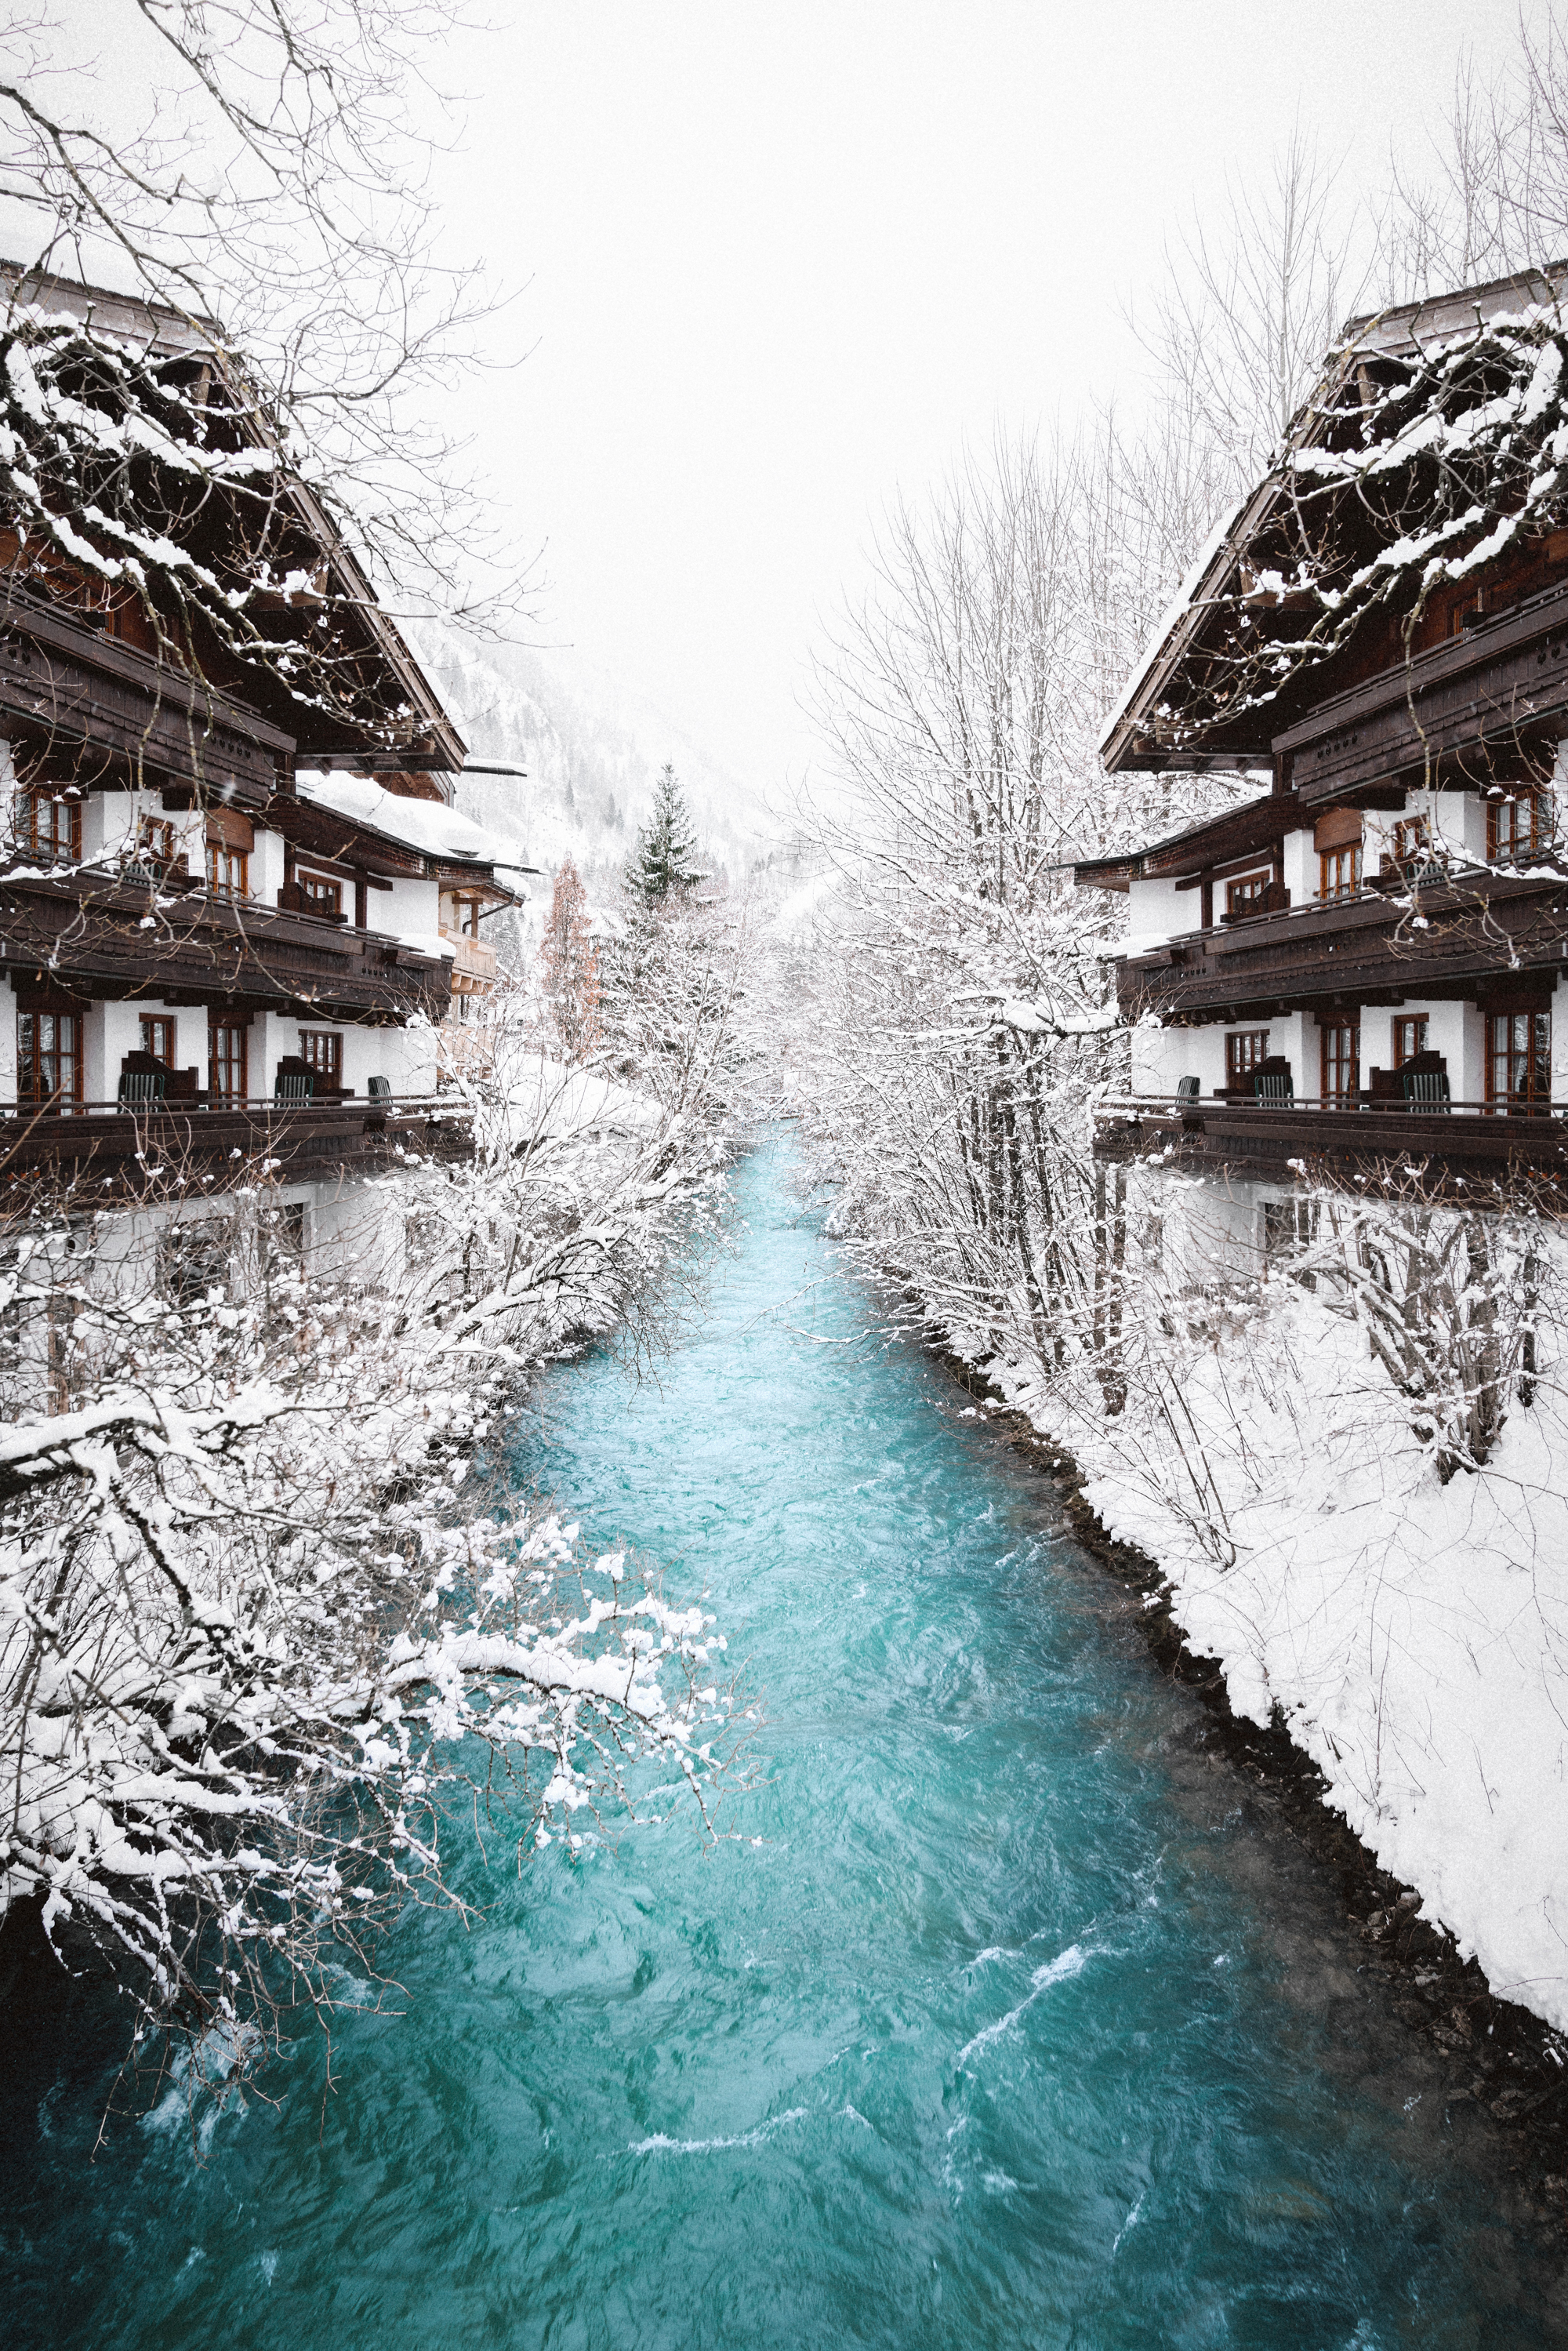
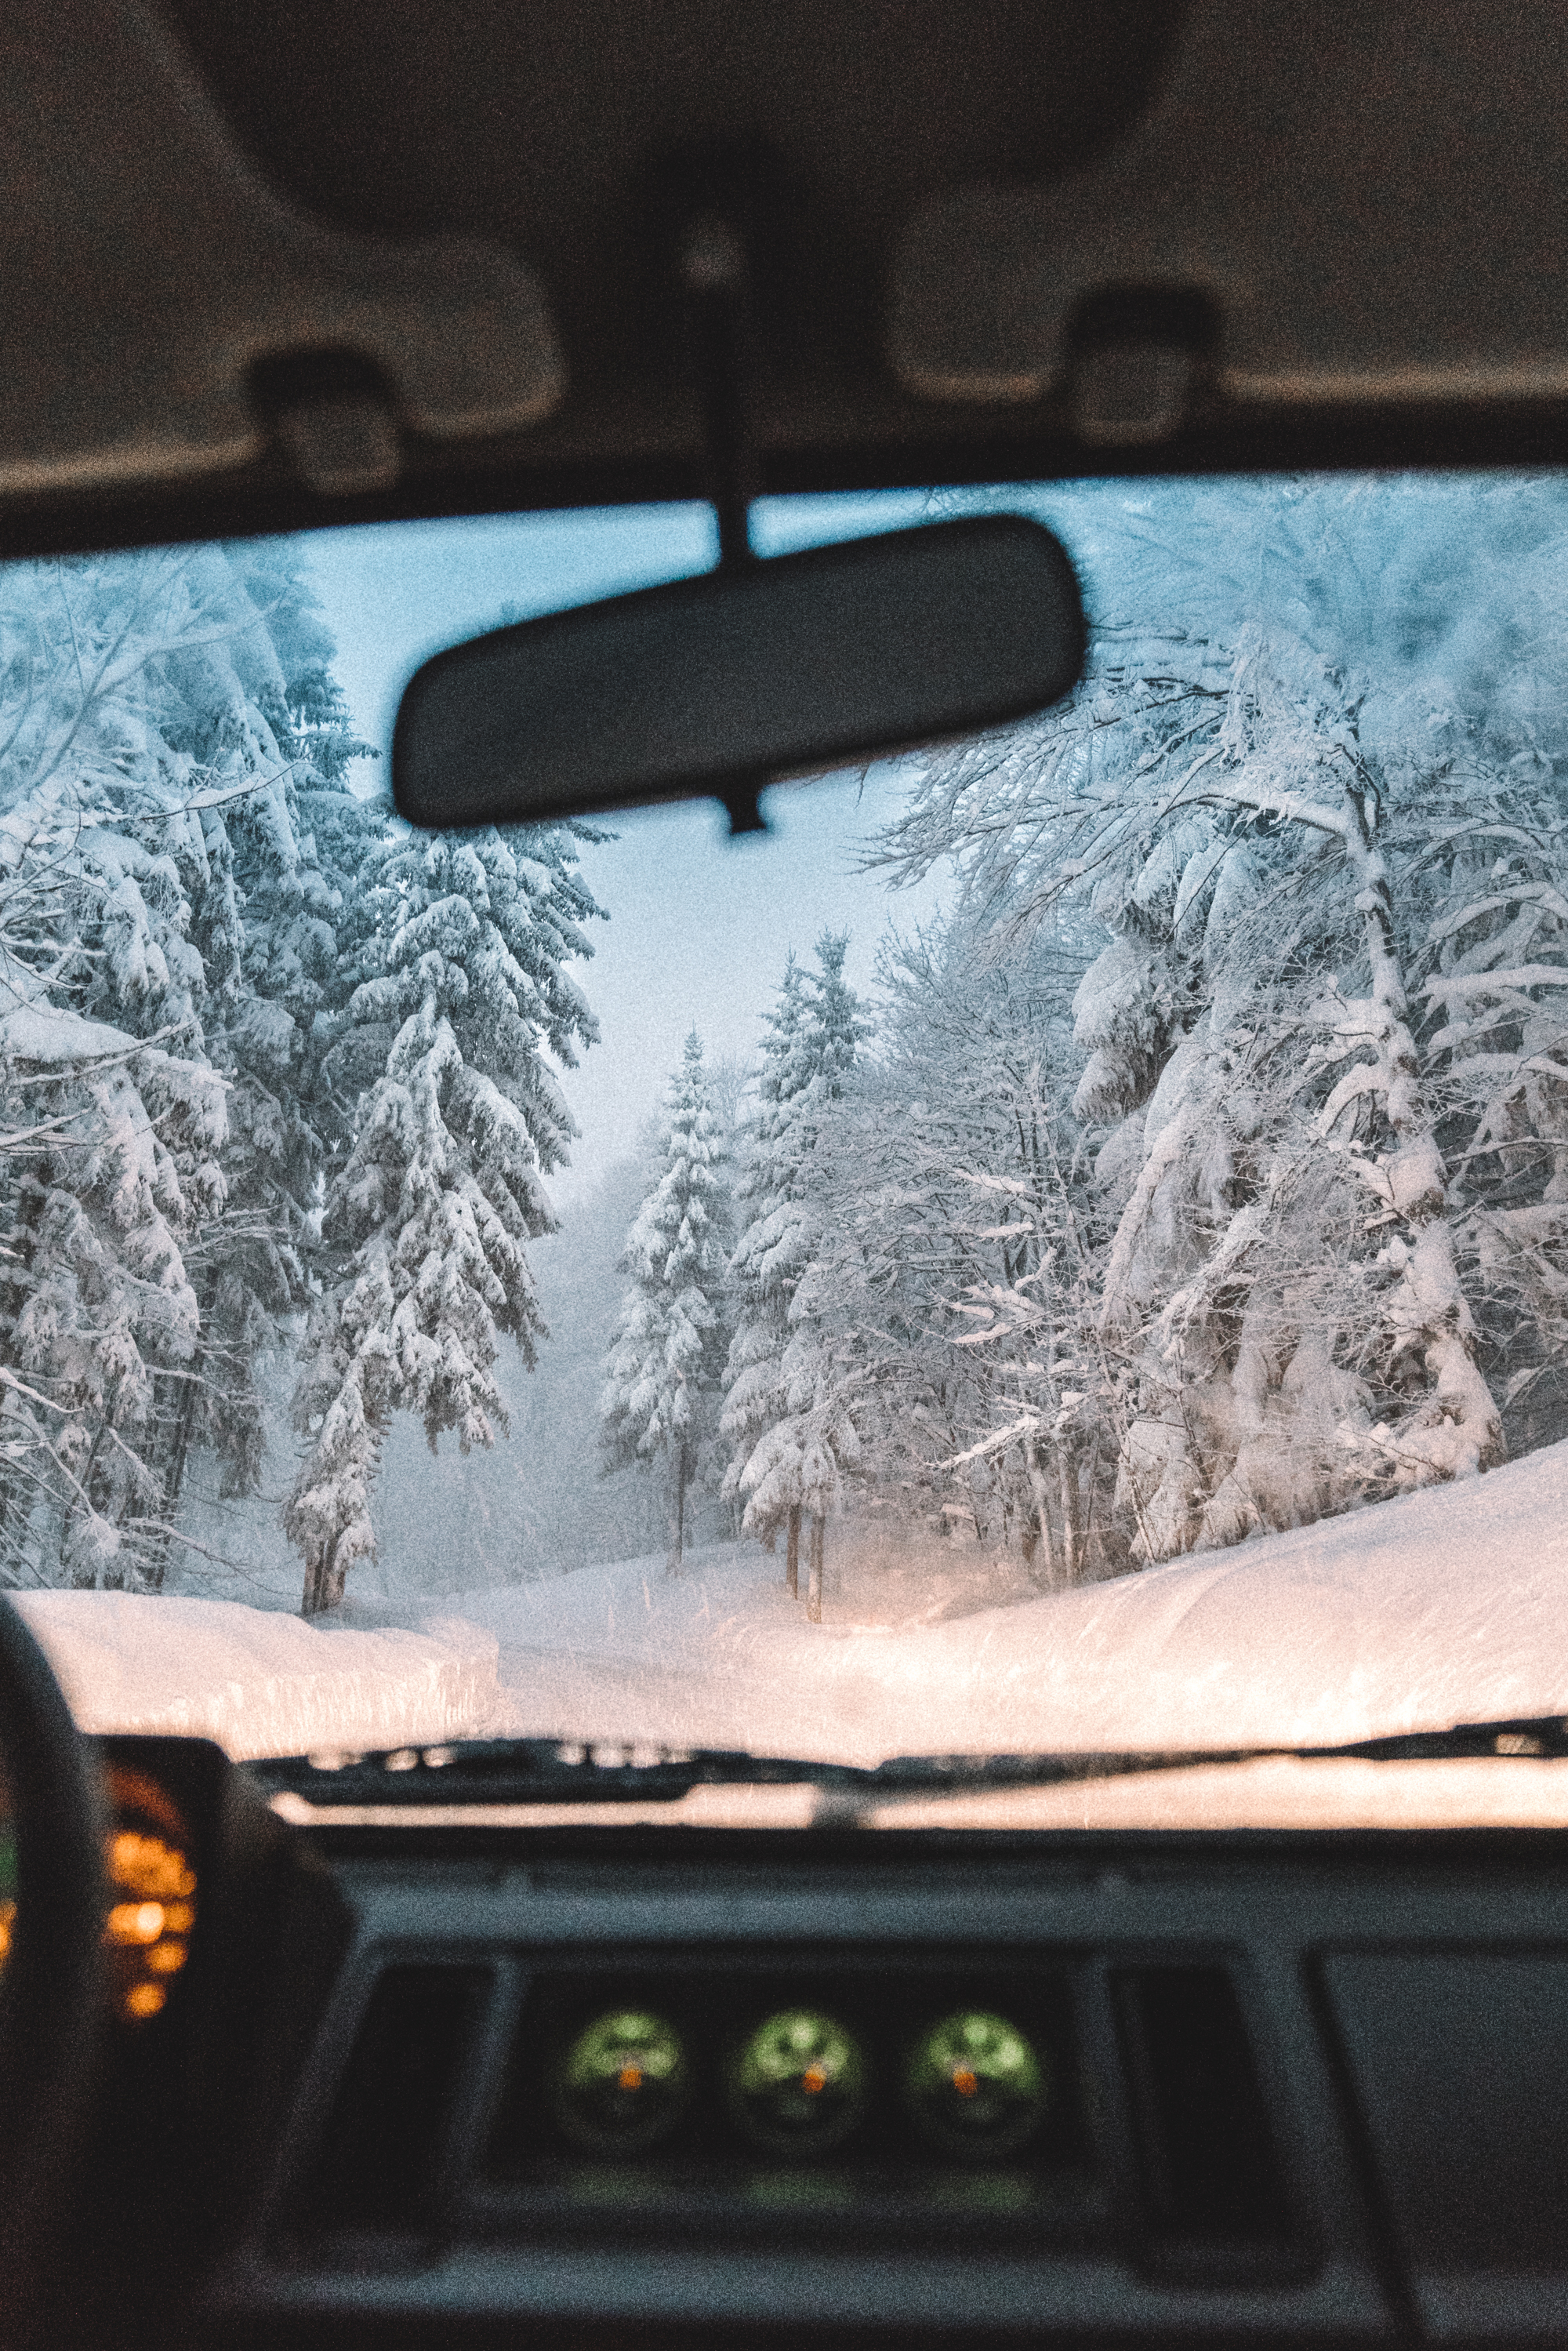
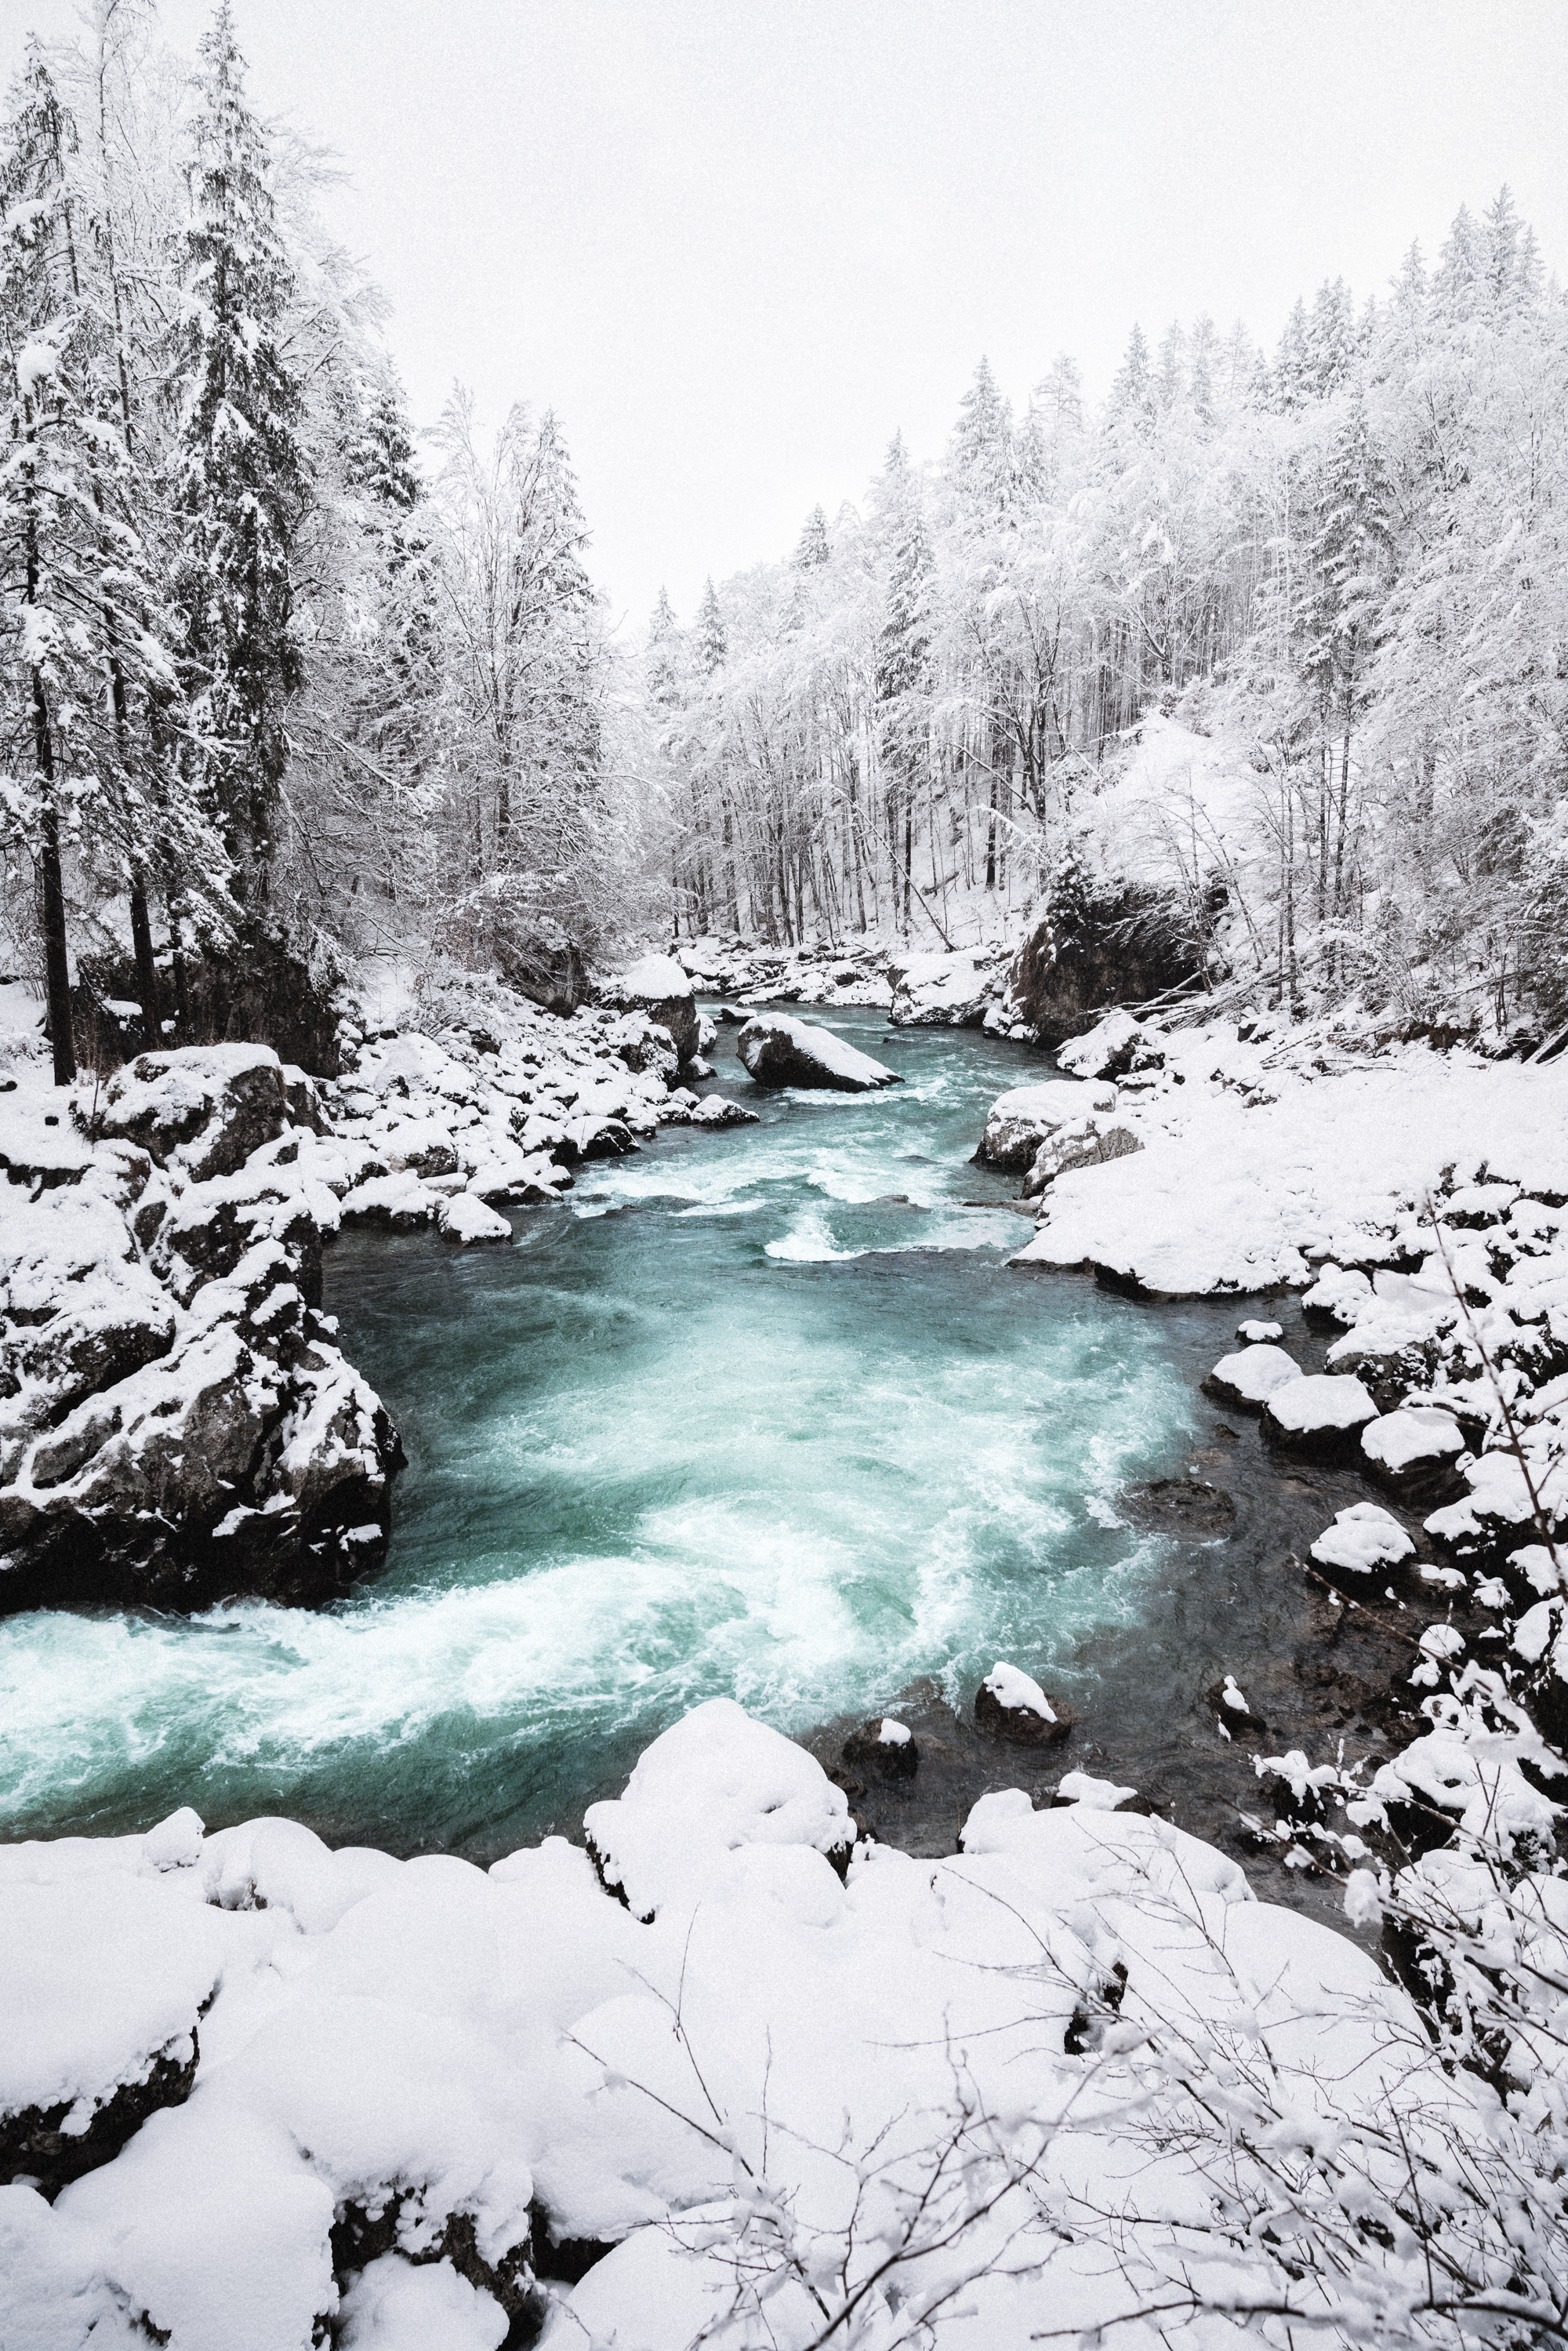

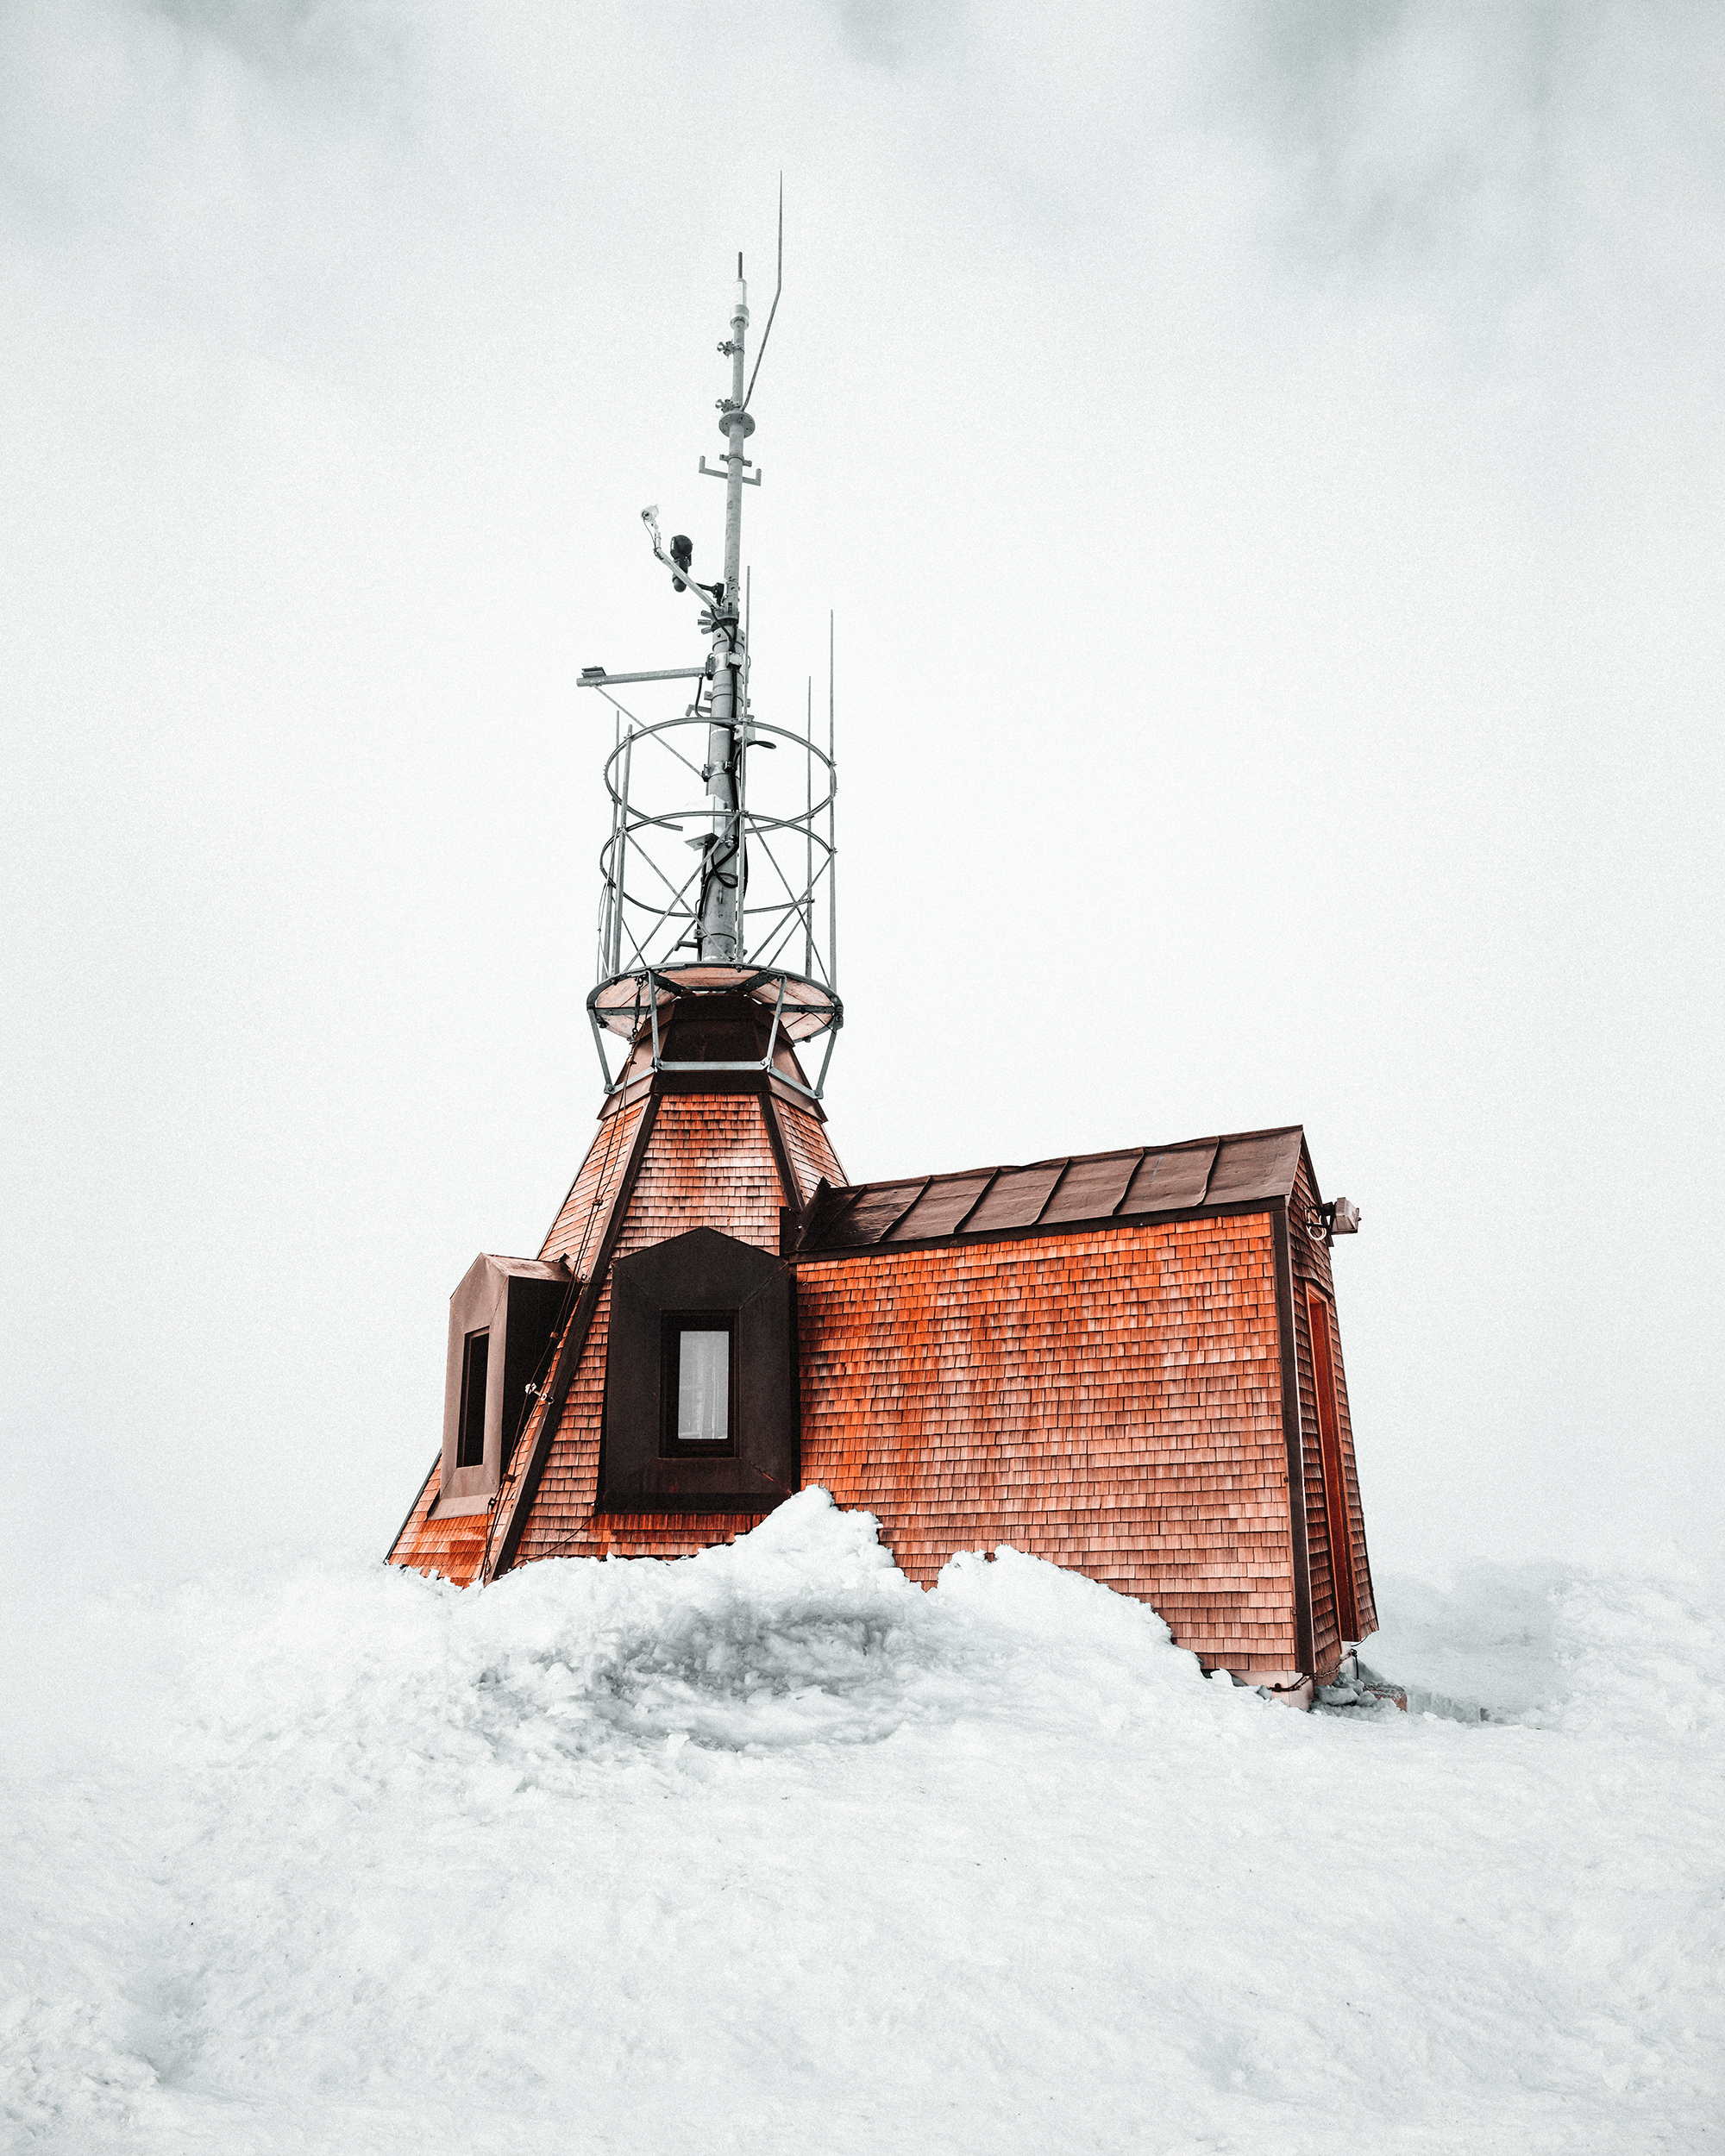
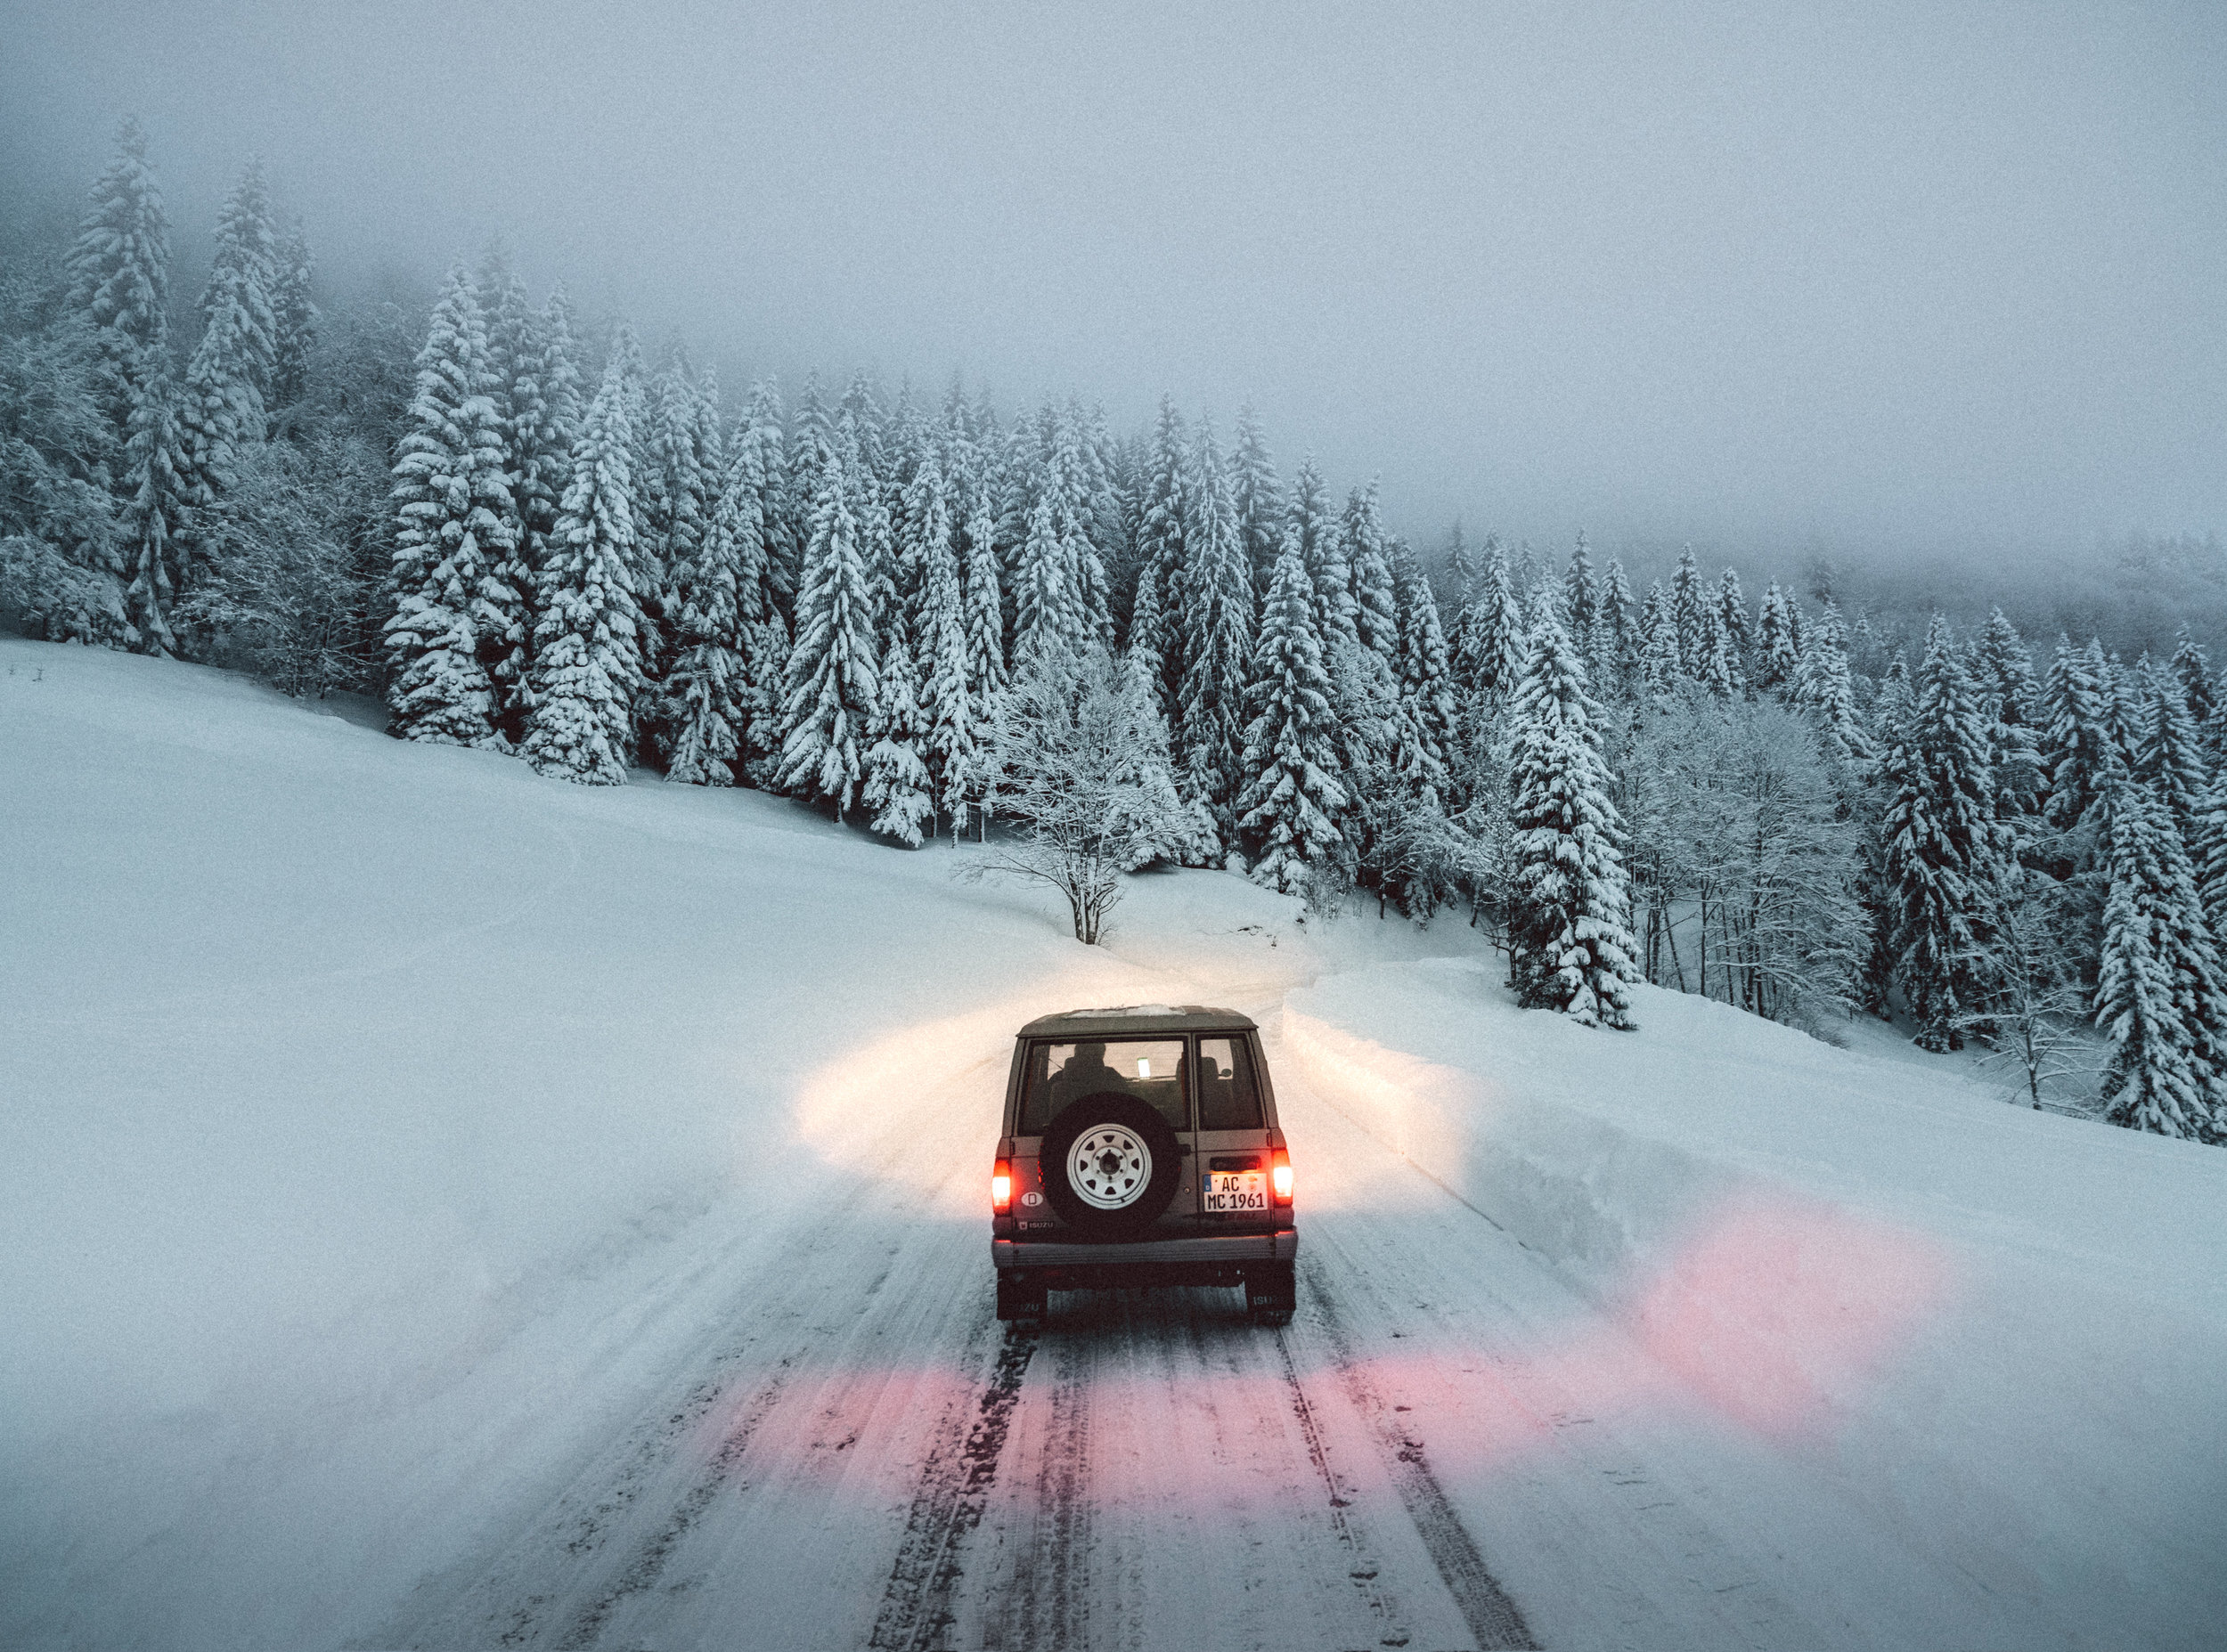


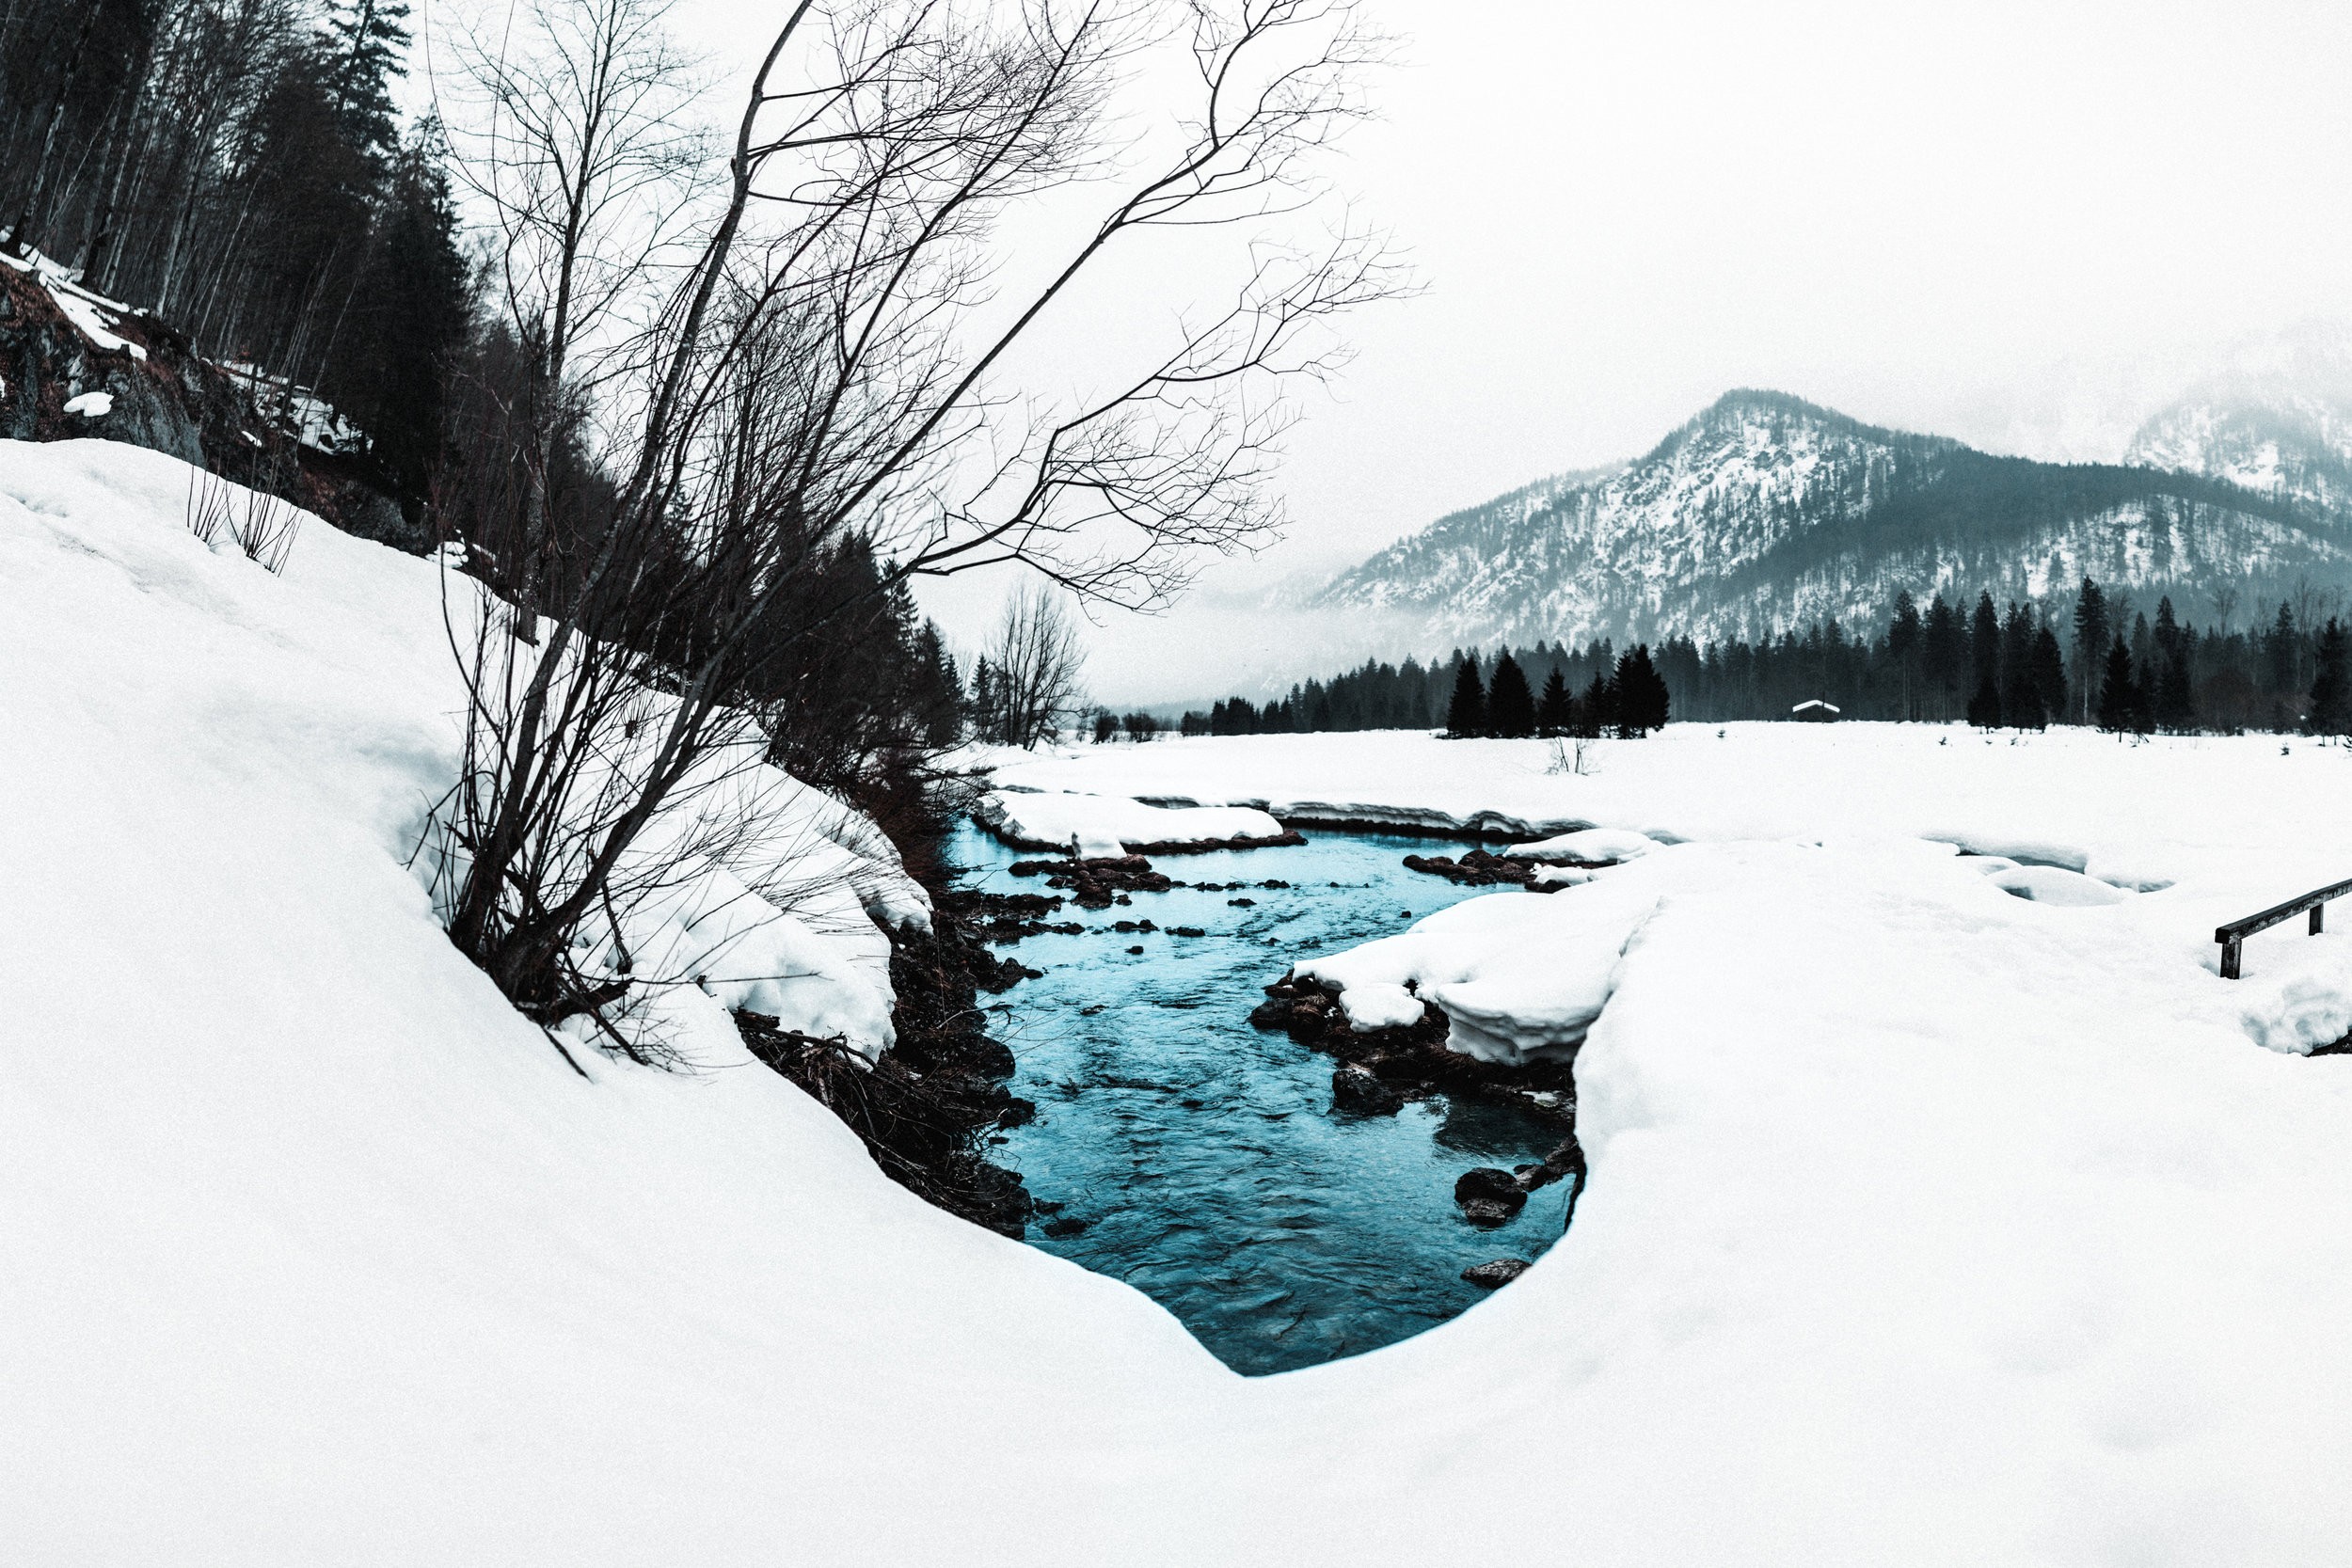

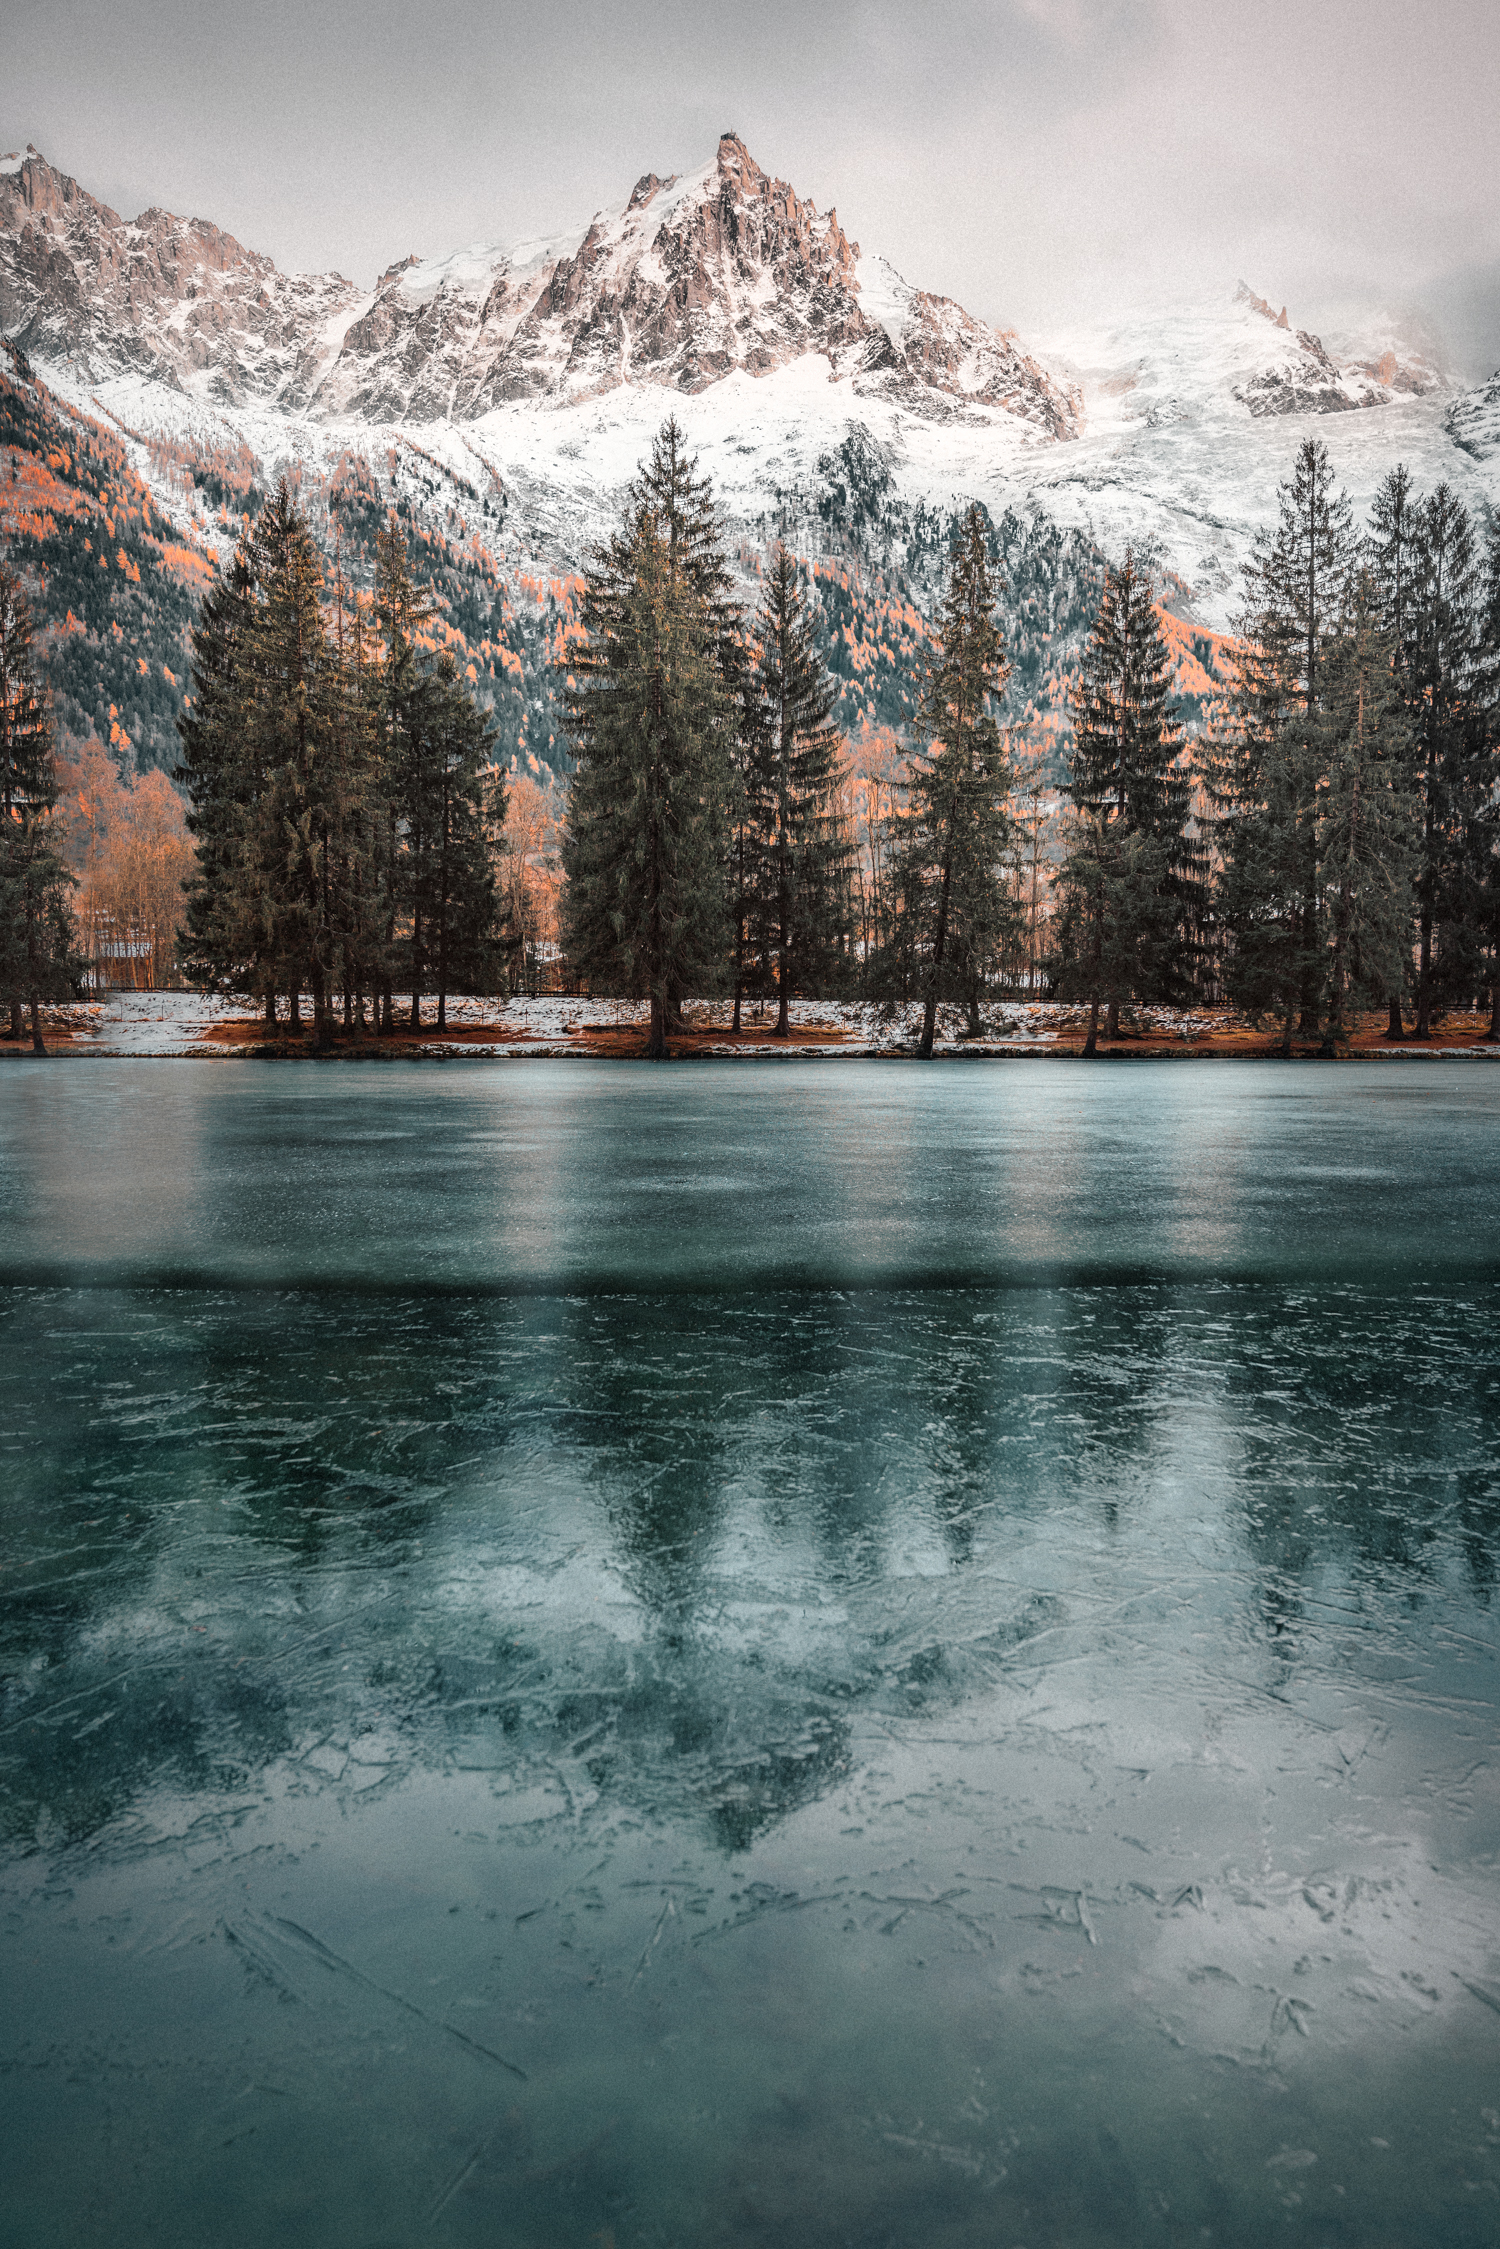
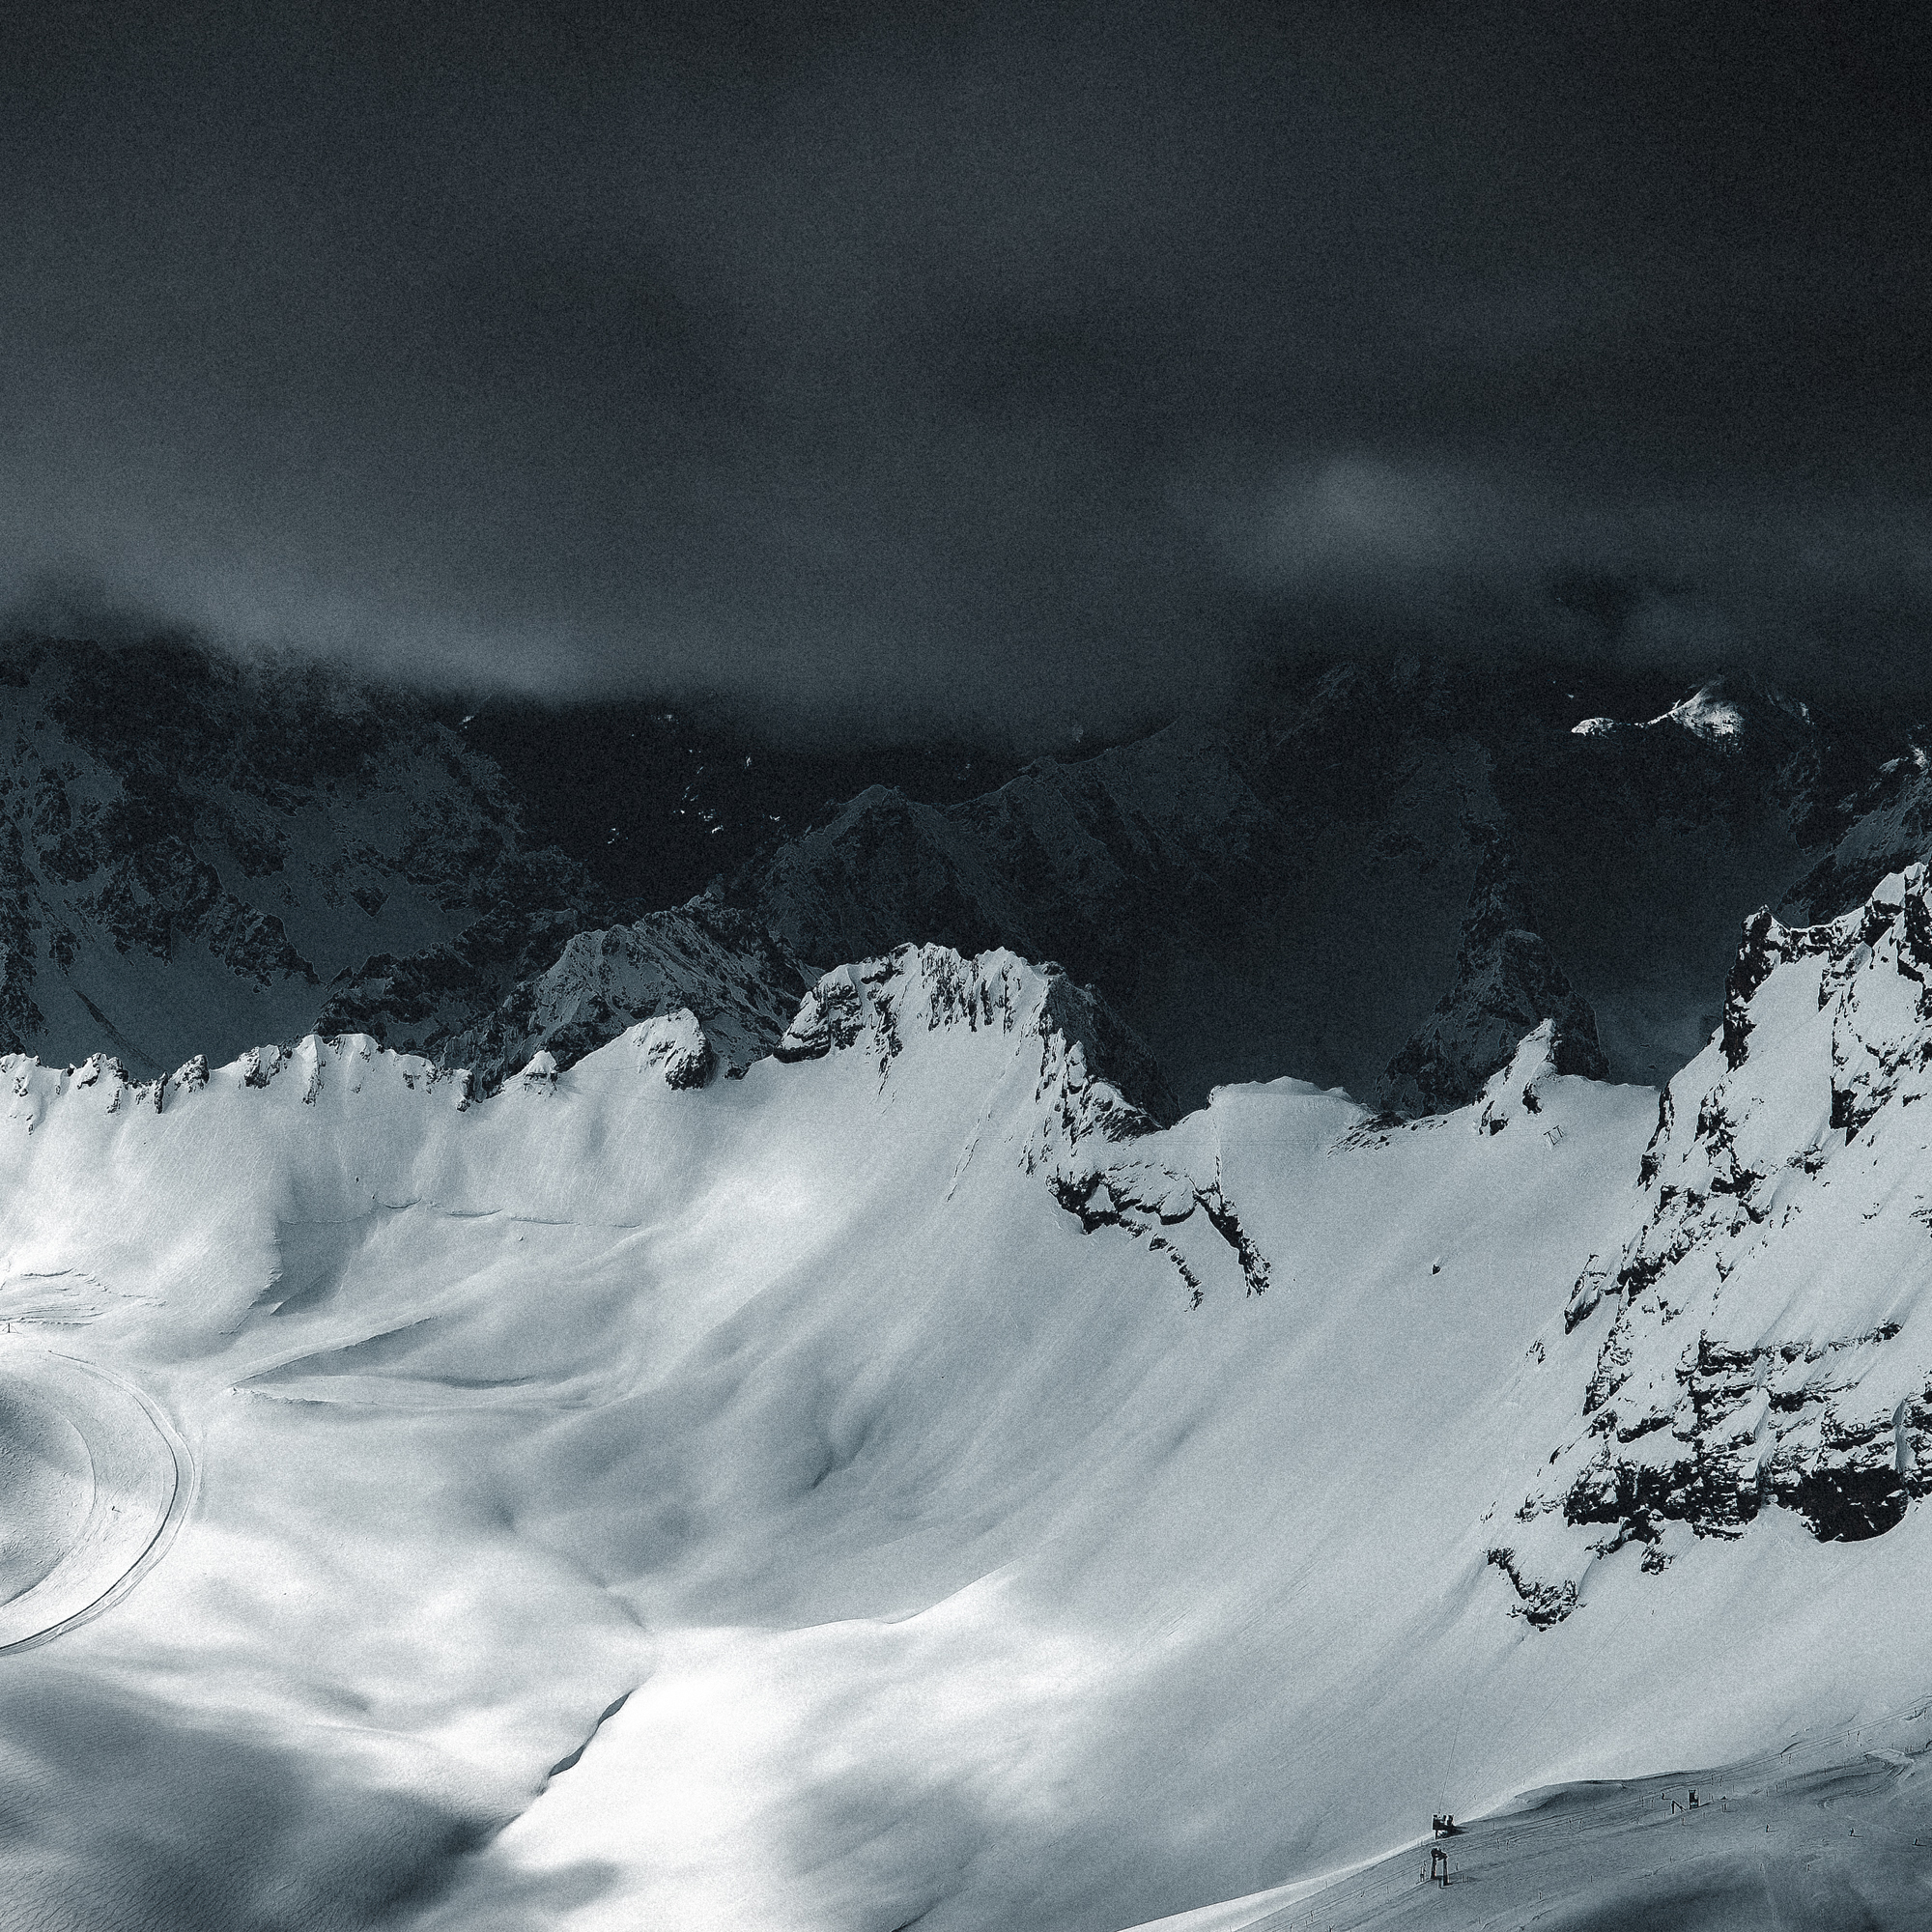
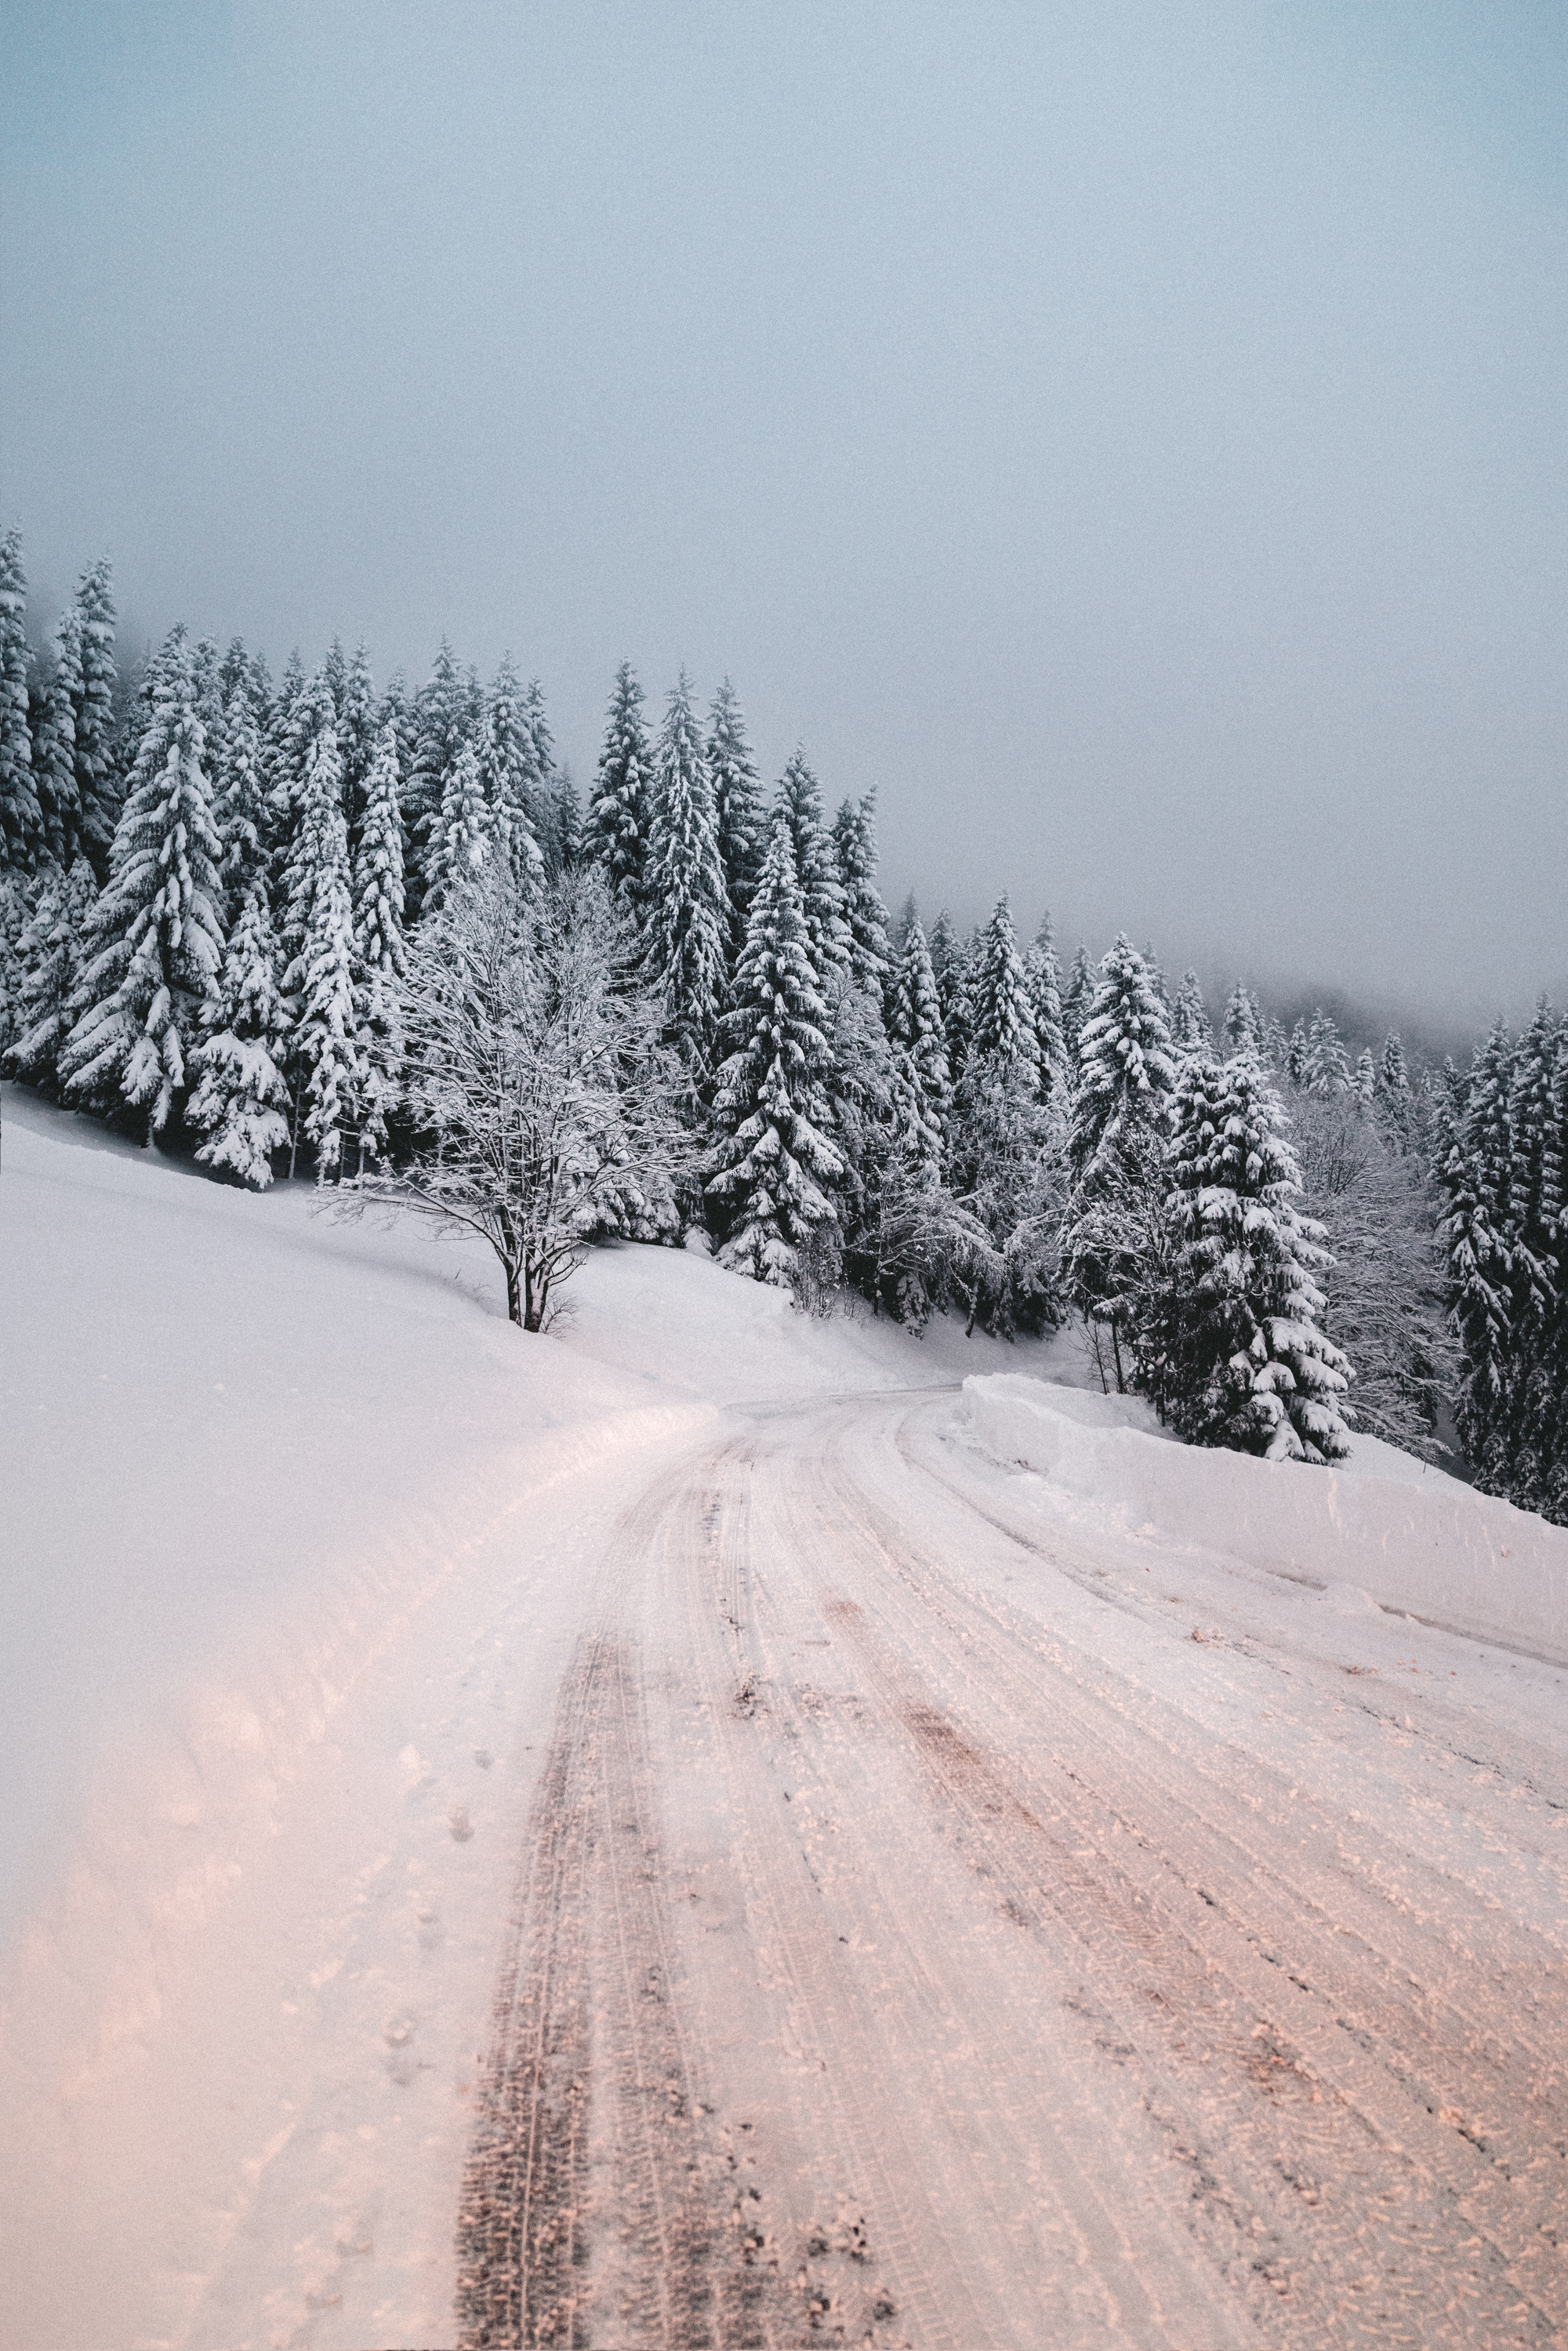
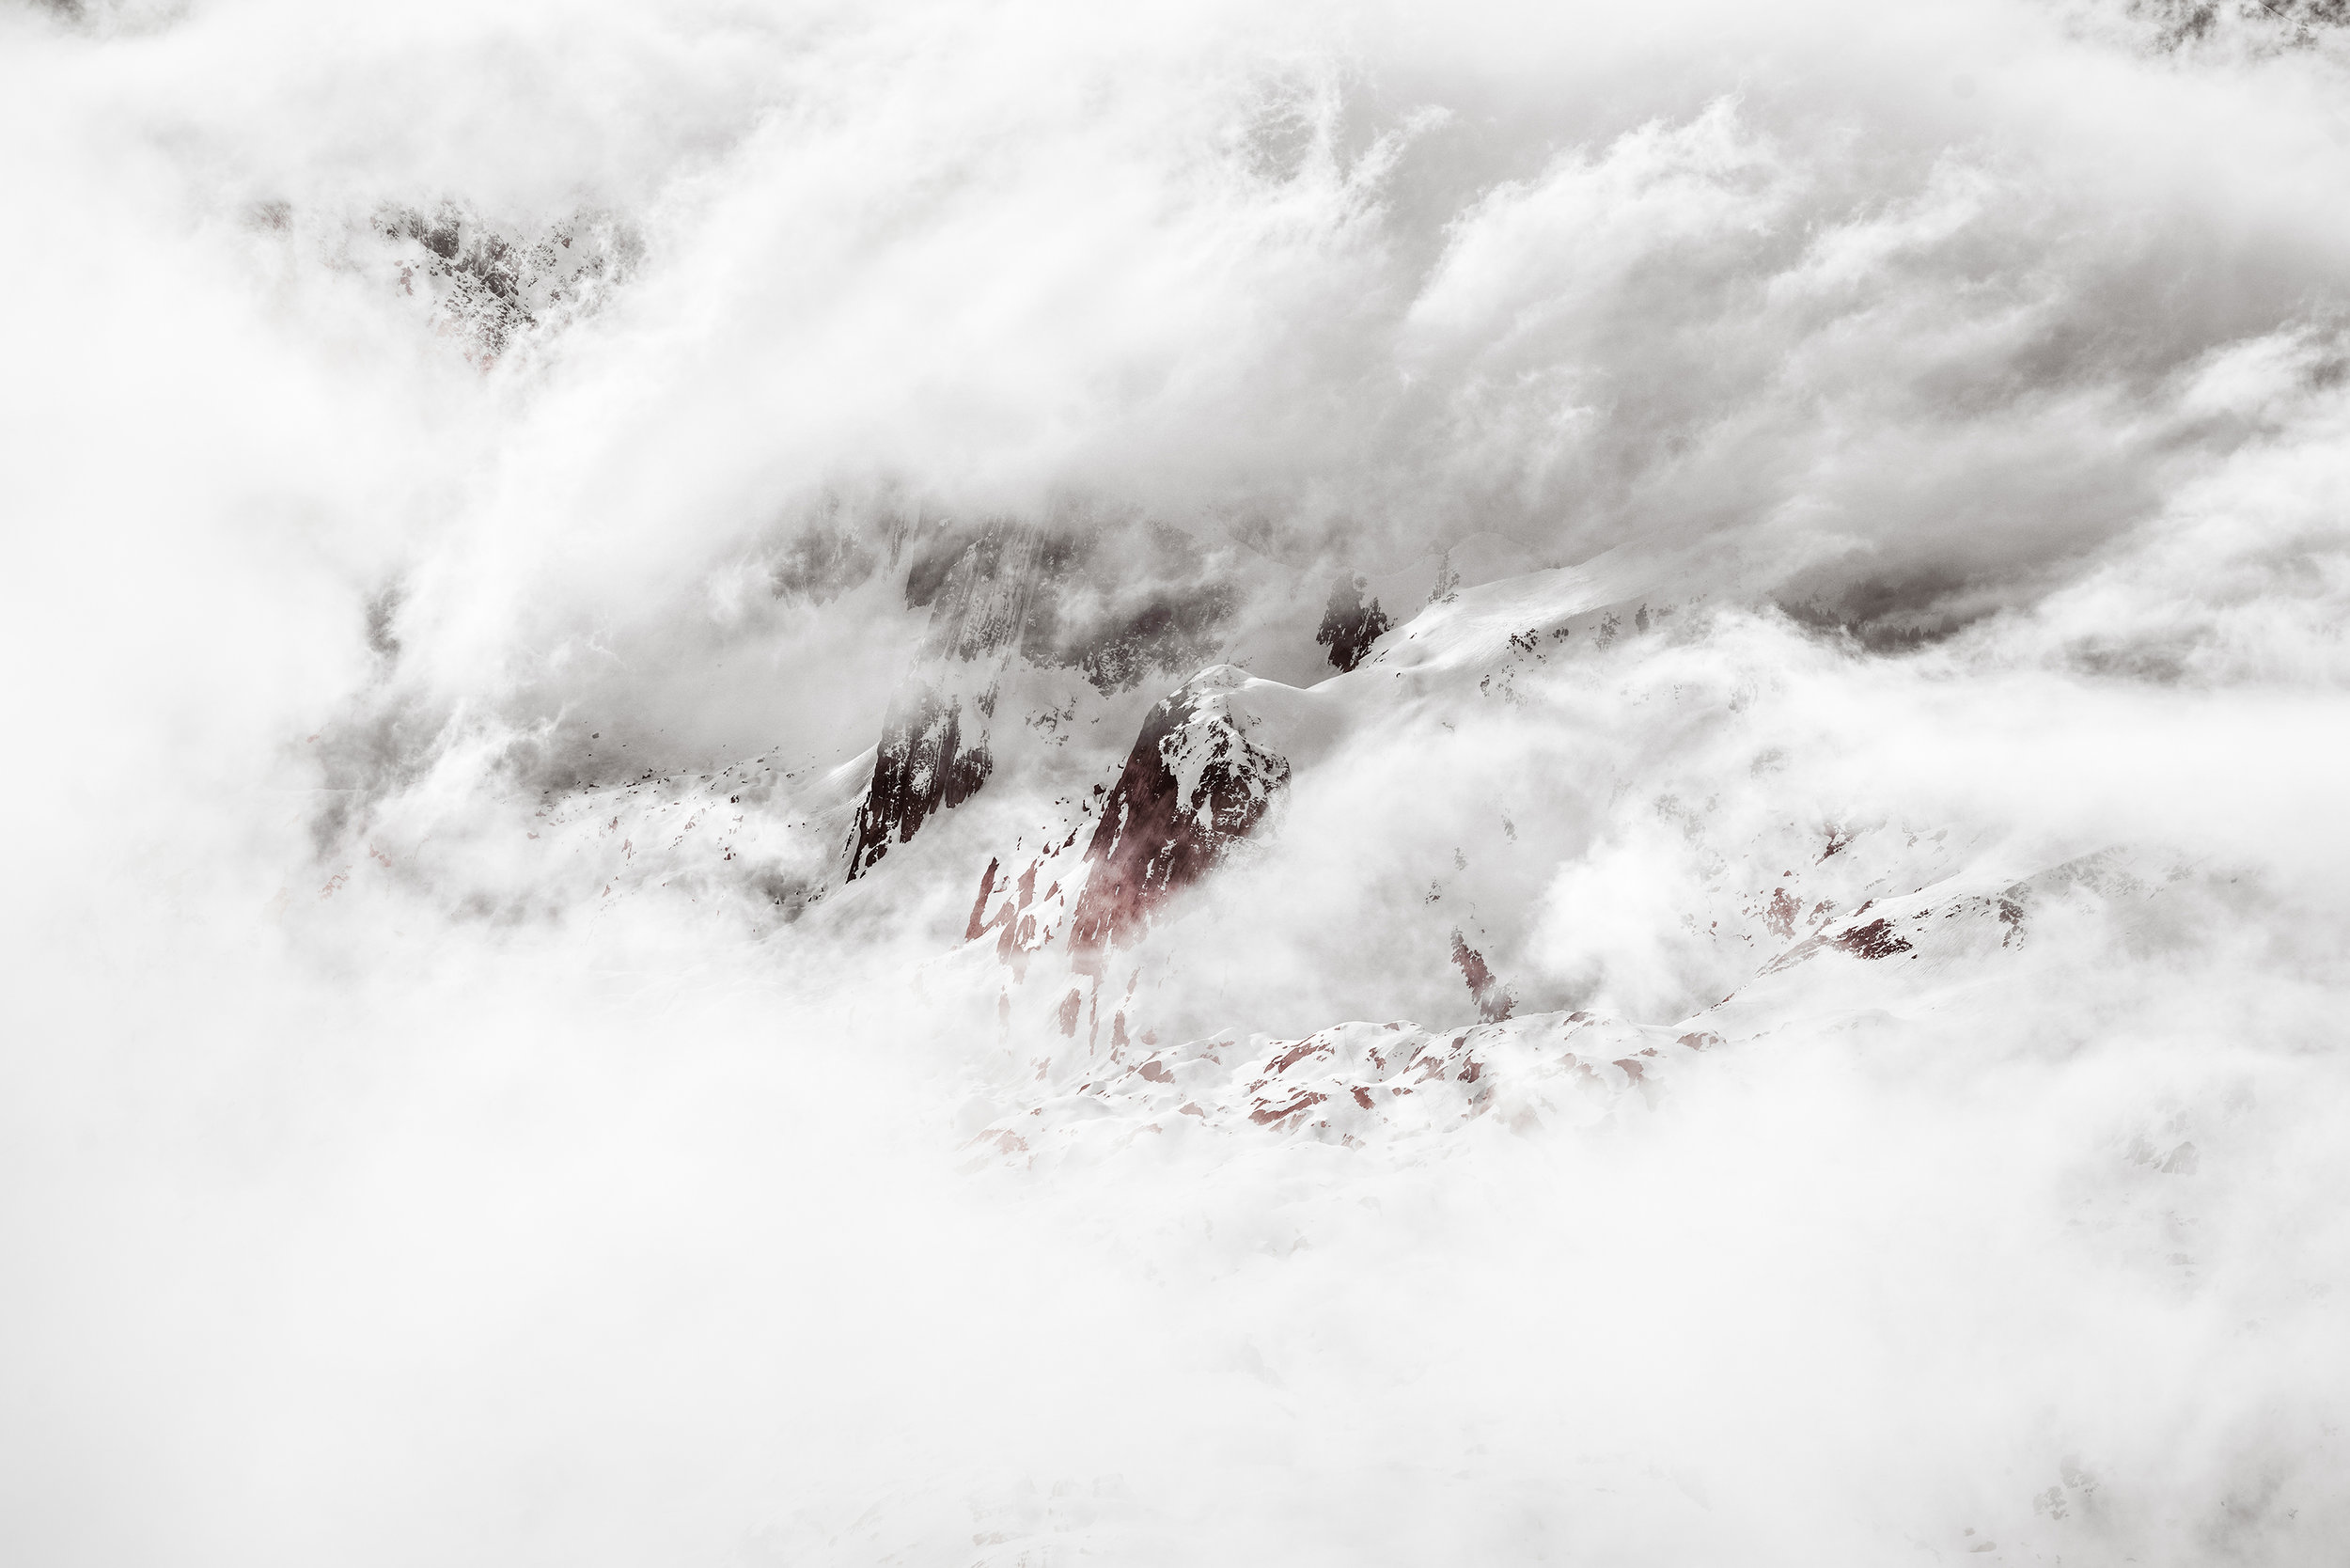
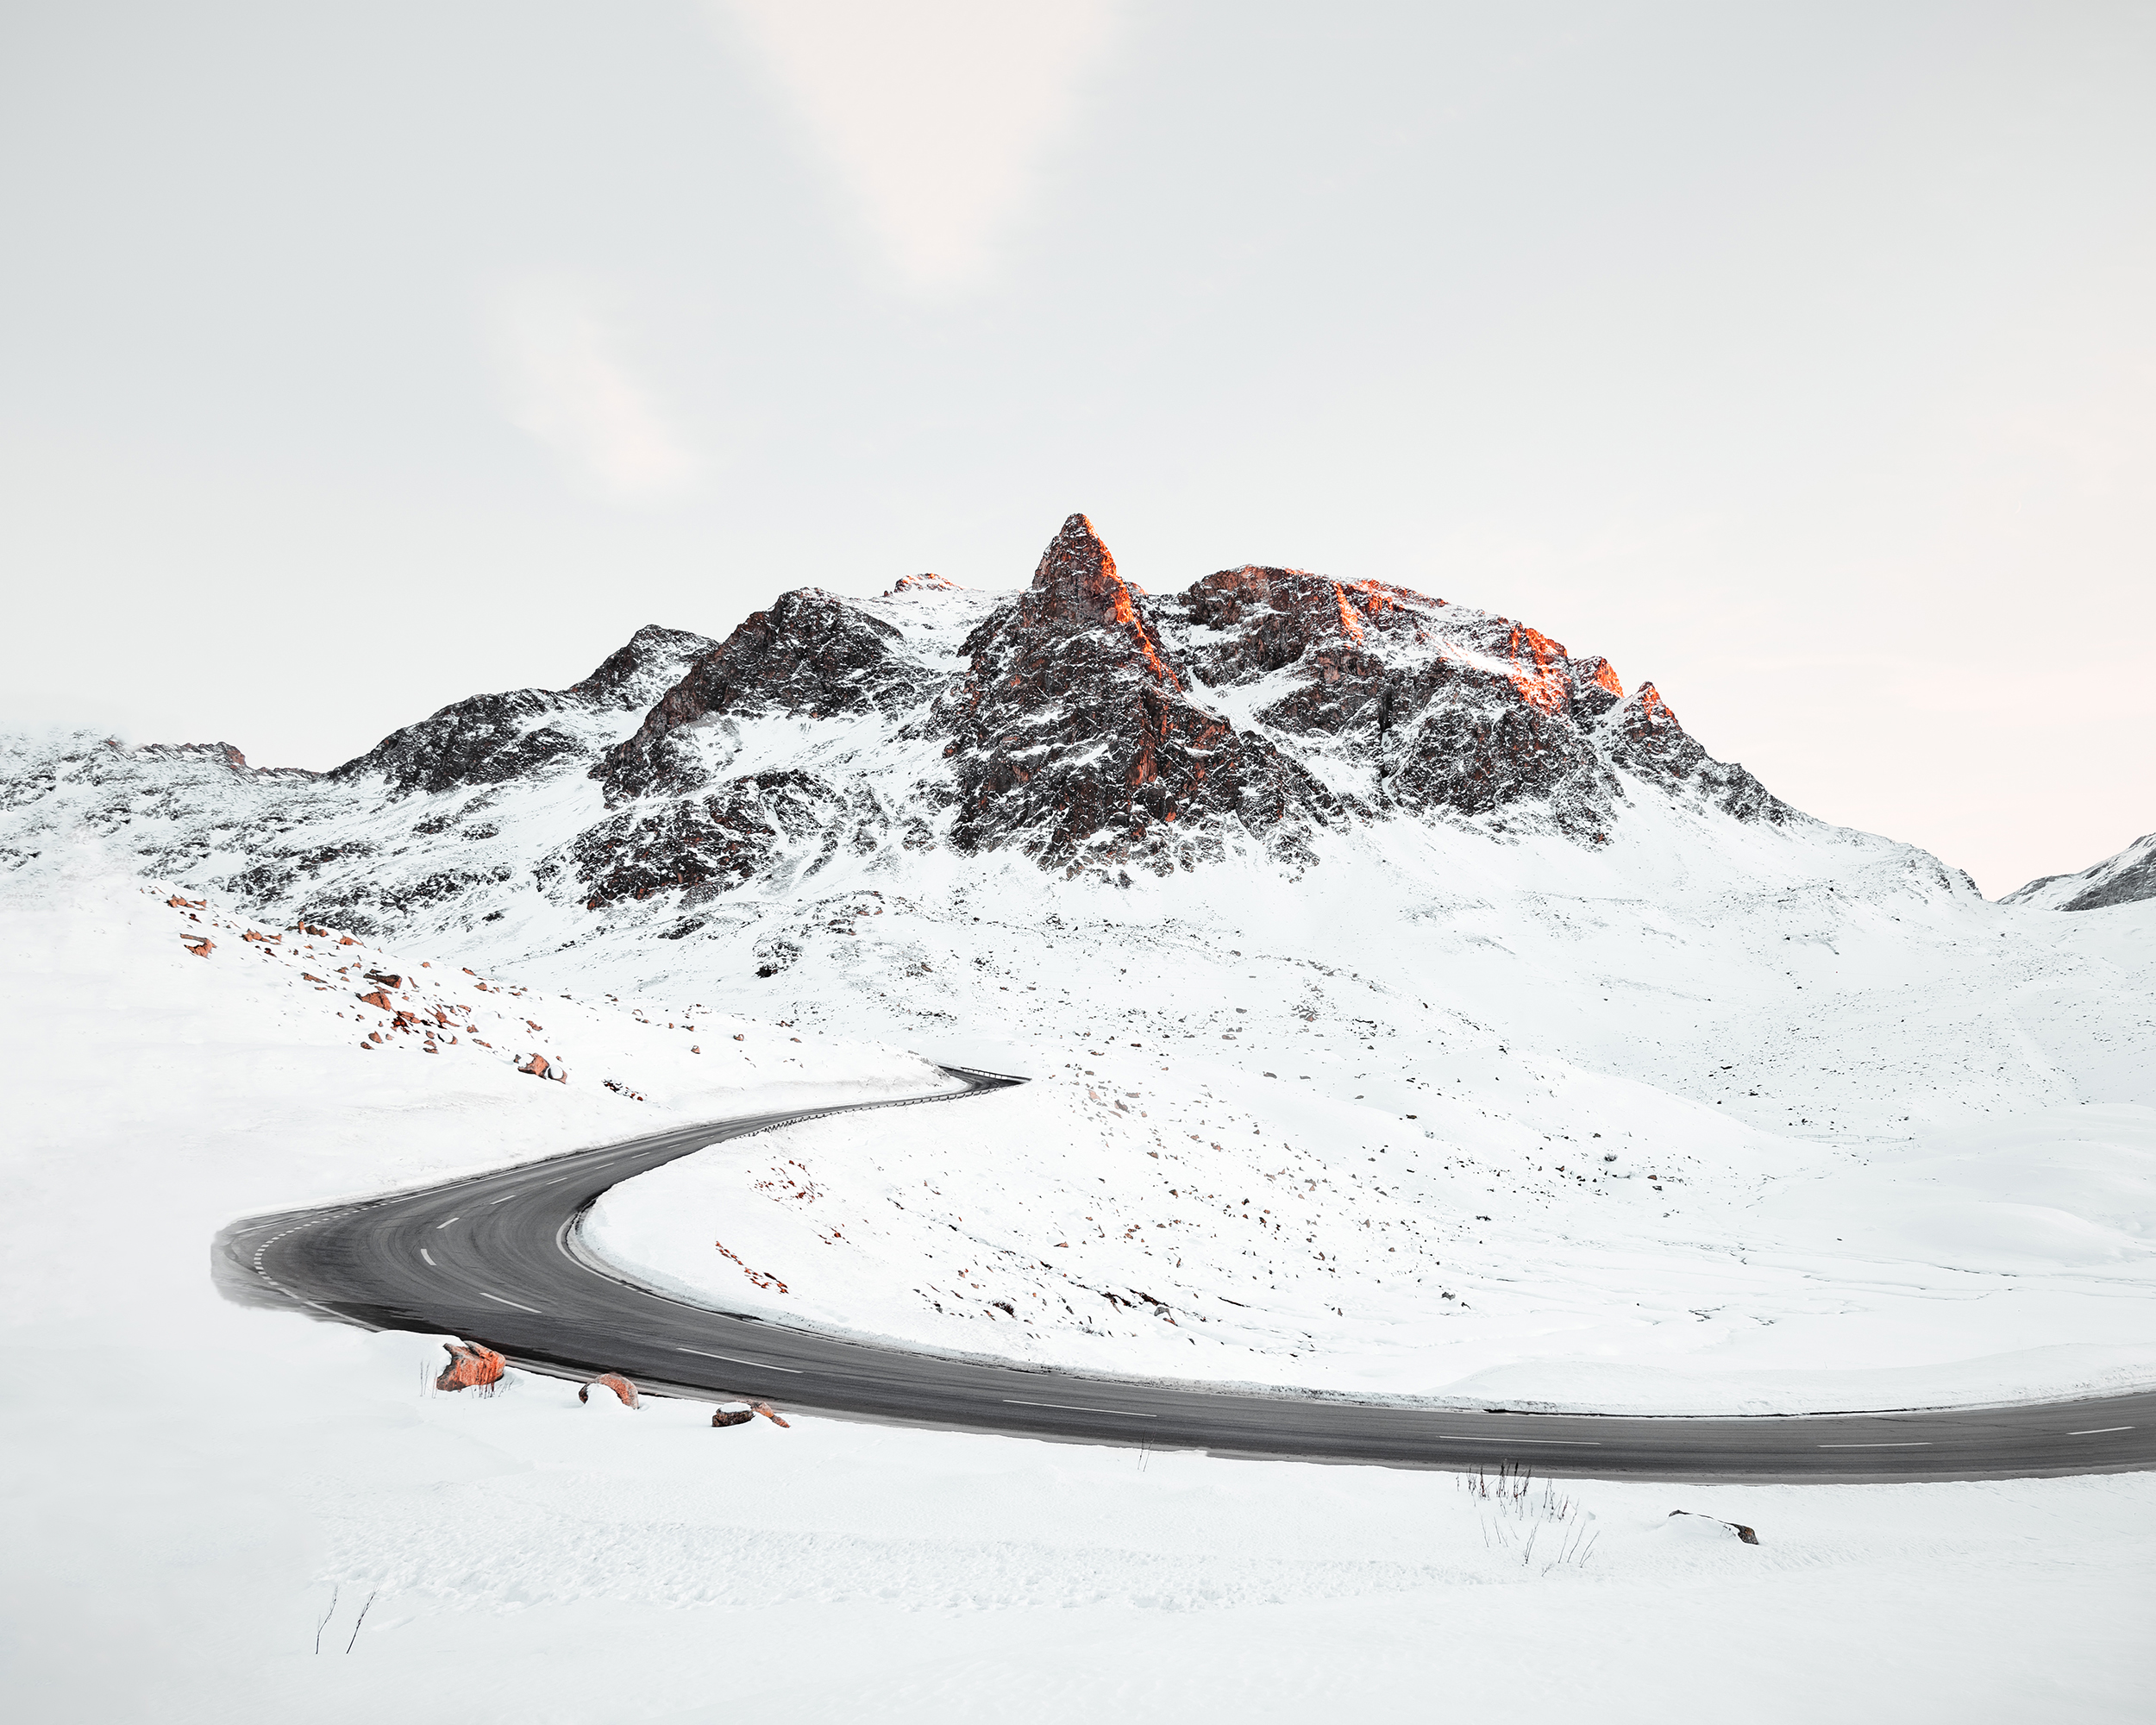
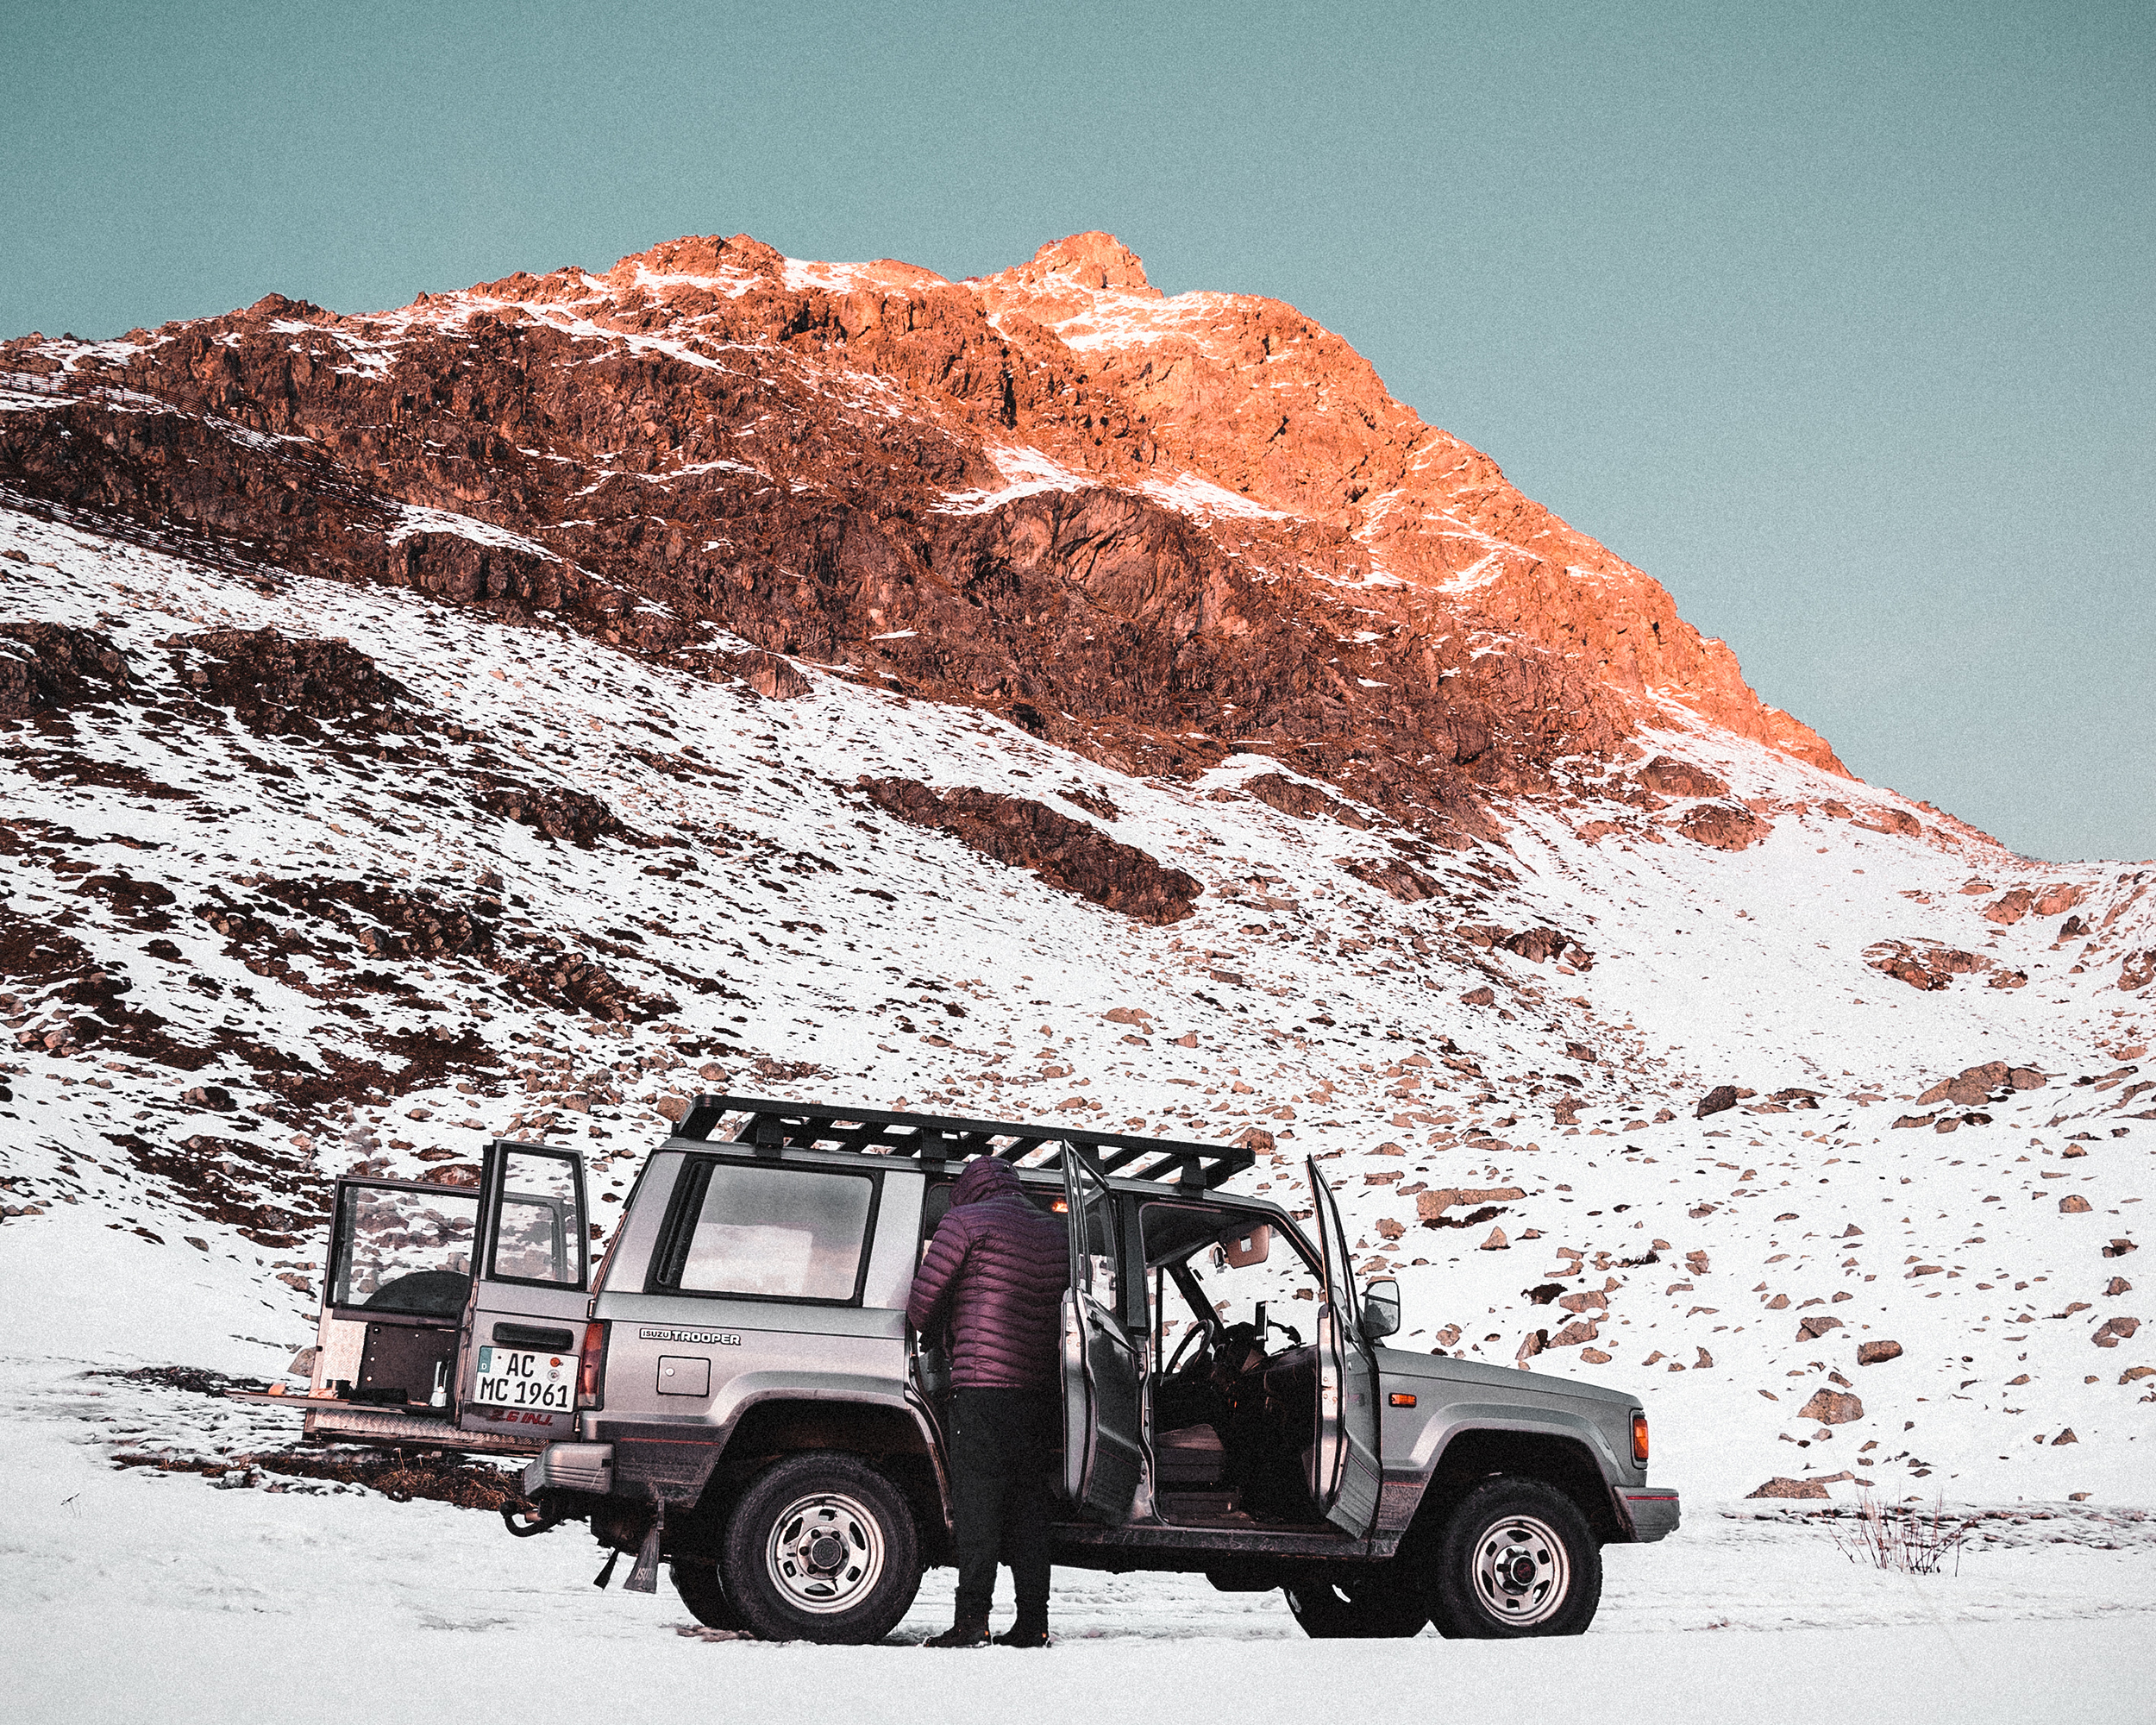
Since we’re currently on a roadtrip through Morocco we think we won’t be able to take lots of winter shots this year. So here are our favorites from the last season.
Photographs taken in Austria, Germany and Switzerland.
Ever since we've explored that there is aerial photography (I know it exists for quite a while) we've been intrigued by getting our own drone to take pictures from out of the air. But at that point they were big, and we didn’t feel like carrying a big additional bag all around with us. Plus, they are quite expensive and for as long we didn’t have the extra coin to splurge on one. Also, we used to have a drone but that one always crashed and fell of the sky just for no reasons. And so we forgot/displaced the idea of a drone for some time.
Now we finally have one and here are the first pictures we took with it.


Shots from last week while we’ve been in Paris. Shot on Sony α7R II & Leica M.
A lot of people ask us about our backup system. What are you doing for secure storage and back up and what is your workflow regarding data backup?
The question is justified, because we produce several GB of data on image and film material. We feel quite strongly about data backup, as should we all.
It is quite simple, we all know how valuable photos are to us. That's why we decided on a 2-step backup. We have been working with this setup for several years.
· we backup daily on external harddrives
· transfer them to our Synology NAS server
But what is a Synology DiskStation or a NAS?
DiskStation is the name for Synology's Network Attached Storage (NAS) devices. You can integrate a NAS into your home network (or as we do with a service provider) and use it as central network storage. The advantages of a NAS are the extensive backup and storage possibilities of data. In addition, there are many applications from Synology and third-party providers. These range from simple applications such as image and document management to complex business applications. We mainly use the NAS as data storage for our images and daily business documents.
_______
Until the end of August 2018 we have stored everything on the DS 1512+ with 5 pieces à 4TB hard disks.
We are digital nomads and we live in our SUV and soon our new car. So we can't just place the Synology at home and work with it. Our Synology is located in a data center in Aachen at our service provider and hosting partner Honds IT GmbH. Synology is connected with a fixed IP address. So we can access our system from anywhere in the world.
Recently we changed to the DS 1618+ disk station. It is equipped with 6 pieces à 12 TB Seagate IronWolf hard disks.
It is really very easy to prepare the Synology to get ready for the basic installation.
We'll explain to you how to set up your Synology in just a few steps
Unpack the Synology and put the hard disks into the holders supplied by Synology, without screws, simply insert them and slide them into the case.
Now connect the Synology to the router via the LAN 1 socket. Then, make sure you have the power supply and switch on the Synology.
Now simply enter the following command in your browser window "find.sysnology.com" and the Web Assistant window will appear.
Please press the "Setup" button and the -Disk Station Manager (DSM) can now be installed.
Press "Install Now" and let's go!
The Web Assistant recognizes the hard disks used in your system.
Press the "OK" button and the hard disks will be prepared for the system
Install the DiskStation Manager on your system
After the installation has been completed, an administrator account must be created.
Please enter the required data.
Servername , username and the password
Now you have to enter the first basic settings.
The Synology is now installed and ready to go. You are now logged in as administrator.
In the Control Panel under Network/General you can see your IP address and the server name of Synology. You have defined and entered this a few steps in advance.
Now you have to select the mode in the Memory Manager menu. We have selected "Fast" for our Synology.
Now you have to select the hard disks (of course all of them). We made the screen shots of our old NAS. This one had 5 hard disks.
Next step is the selection of the file system. We have chosen ext4. Further information about the choice of file systems can be found directly in this window..
Please confirm the settings!
The hard disks are now checked by the system in the background. Possible errors on the hard disks will be reported to you after completion of the check.
We’ve created a series of blog posts for Synology.
Click through them if you are interested:
In the next blog entry we will show you how to create a “shared folder”.
In collaboration with Synology Deutschland and Honds IT GmbH.
Oh it's really been a while since we've posted something on the blog. Here's a piece of street photography that we've created during our last stay in Cologne for photokina back in September.
We wanted to bring this out before we actually move back into the city for one month before we head out for a long trip over to Morocco.
If you've liked this you may also enjoy Cologne & Cologne II

everything shot on a 50mm
If you've liked this you may also enjoy Cologne & Cologne II